How to Set Up a Projector in a Small Room: 2026 Guide
Table of Contents
- Measure Your Room Before You Buy Anything
- How to Use a Projector Throw Distance Calculator
- Short Throw Projector Benefits for Tight Spaces
- Projector Screen vs Wall: What Works in a Small Room
- Step-by-Step Setup for Your Small Room Projector
- Common Mistakes to Avoid in a Small Room Projector Setup
- Conclusion: Your Small Room Projector Setup Is Ready
- Frequently Asked Questions
Last Updated: September 5, 2026
Setting up a projector in a small room comes down to one question most guides ignore: how much throw distance do you actually have? Throw distance is the space between the projector lens and the wall or screen, and it determines the maximum image size you can achieve without sitting too close. In a room that is only 10 to 12 feet deep, a standard projector might force you into a tiny image, while a short-throw model can fill the same wall from a coffee table.
Before you buy anything, grab a tape measure and map out your room. The critical numbers are the room's depth, the width of the wall you plan to use, and your typical seating distance. A common mistake is assuming a bigger image is always better; in a tight space, sitting too close to a massive screen causes eye strain and makes motion blur obvious. Sit at least 1.5 times the image width away from the screen (the CDC).
Measure Your Room Before You Buy Anything
Confirm your room's physical limits before you commit to a model. Measure three things: the distance from the projector's planned position to the wall, the available wall height and width, and the distance from the screen wall to your seating.
Standard projectors typically need about 8 to 12 feet of throw distance to produce a 100-inch image. Short-throw models achieve the same size from just 3 to 5 feet away. For most small rooms, the seating position ends up closer to the screen than the projector, so plan for the projector to sit either on a shelf behind you or on a low table in front of the seating row.
How to Use a Projector Throw Distance Calculator
A projector throw distance calculator removes the guesswork from choosing between models. These tools, available from most projector manufacturers and home theater sites, ask for your projector's throw ratio and your desired screen width, then output the minimum and maximum distance the projector can sit from the wall. The throw ratio is the relationship between the lens and the image size, usually expressed as a number like 1.13 to 1, meaning for every 1 foot of image width, the projector needs 1.13 feet of distance.

To use one effectively, start with your room's measured depth and work backward. If your room is 10 feet deep and you want an 80-inch image, input that image width into the calculator and check whether the required distance fits your room. Many calculators also factor in vertical offset, which tells you how high or low the projector must sit to align the image correctly. According to Projector Central's throw distance resources, understanding this ratio is the single most important spec for matching a projector to a room.
Short Throw Projector Benefits for Tight Spaces
Short throw projector benefits become obvious the moment you try to fit a standard model into a small room. A short-throw projector sits close to the wall, often on a media console or low table, so no one walks through the light beam and you avoid the need for a ceiling mount. These models also reduce the risk of keystone distortion.
The trade-off is price and placement flexibility. Short-throw projectors generally cost more than standard models with similar brightness, and they need a flat, stable surface near the screen. Some ultra-short-throw models can sit directly below the screen, which makes them popular for apartments where drilling into ceilings is not allowed.
Understanding Throw Ratio and Lens Offset
To make the right choice, you need to understand the throw ratio, which is the lens-to-image distance relationship. A standard projector typically has a throw ratio between 1.5 and 2.0, meaning it needs 1.5 to 2 feet of distance for every foot of image width (projectorcentral.com). A short-throw model has a ratio between 0.4 and 1.0, and an ultra-short-throw (UST) projector has a ratio below 0.4, often allowing placement just inches from the screen. For a 100-inch diagonal image (about 87 inches wide), a standard projector needs roughly 10 to 17 feet, a short-throw needs 3.5 to 8.7 feet, and a UST can sit as close as 2 to 3 feet from the wall.
Lens offset is another spec that matters in tight spaces. It describes how far the image shifts above or below the lens center without keystone correction. Many short-throw projectors have a fixed offset, meaning the projector must sit at a specific height relative to the screen. Check the manual for the offset percentage before you commit to a placement spot.
Furniture-Integrated Placement Ideas
In a small room, the projector does not have to be the visual centerpiece. Hide a short-throw projector inside a bookshelf or media cabinet, with the lens peeking out just above the shelf edge. For UST projectors, a low-profile console or an ottoman with a cutout for the lens keeps the unit out of sight while maintaining the required throw distance.
Another approach is to mount the projector on a floating shelf directly beneath the screen. If you are renting and cannot drill into walls, a sturdy floor lamp with a side table attachment can hold a short-throw projector at the right elevation. Measure the vertical offset before you buy furniture.
Real-World Trade-Offs: Brightness and Noise
Short-throw projectors often have lower brightness than standard models at the same price point, because the optics are more complex. In a small room with controlled lighting, 1,500 to 2,500 ANSI lumens is usually sufficient for a 100-inch image; with some ambient light, aim for at least 3,000 ANSI lumens. Short-throw projectors also tend to run warmer, so check the fan noise rating; a projector emitting more than 30 decibels can be distracting in a quiet room. Look for models with an eco mode that reduces fan speed and noise at the cost of brightness.
Projector Screen vs Wall: What Works in a Small Room
The choice between a projector screen and a bare wall depends on your wall's surface and your tolerance for imperfections. A matte white or light gray wall can work surprisingly well if it is smooth and painted with a flat finish. Glossy paint creates hot spots, and textured walls make the image look soft. If your wall has any texture or sheen, a screen is the better investment.
Screens add contrast and brightness because of their reflective properties, measured as screen gain. A screen with a gain of 1.0 reflects light evenly, while a higher gain screen boosts brightness at the cost of viewing angle. In a small room where you sit mostly head-on, a modest gain screen around 1.1 to 1.3 works well. For a budget-friendly setup, a DIY screen made from blackout cloth stretched over a wooden frame delivers results close to entry-level commercial screens.
Step-by-Step Setup for Your Small Room Projector
Once you have the right projector and a surface to project on, setup takes about 30 minutes if you follow a logical order. Start by placing the projector on its final surface, then connect your devices, then adjust the image.
Positioning the Projector for the Best Image
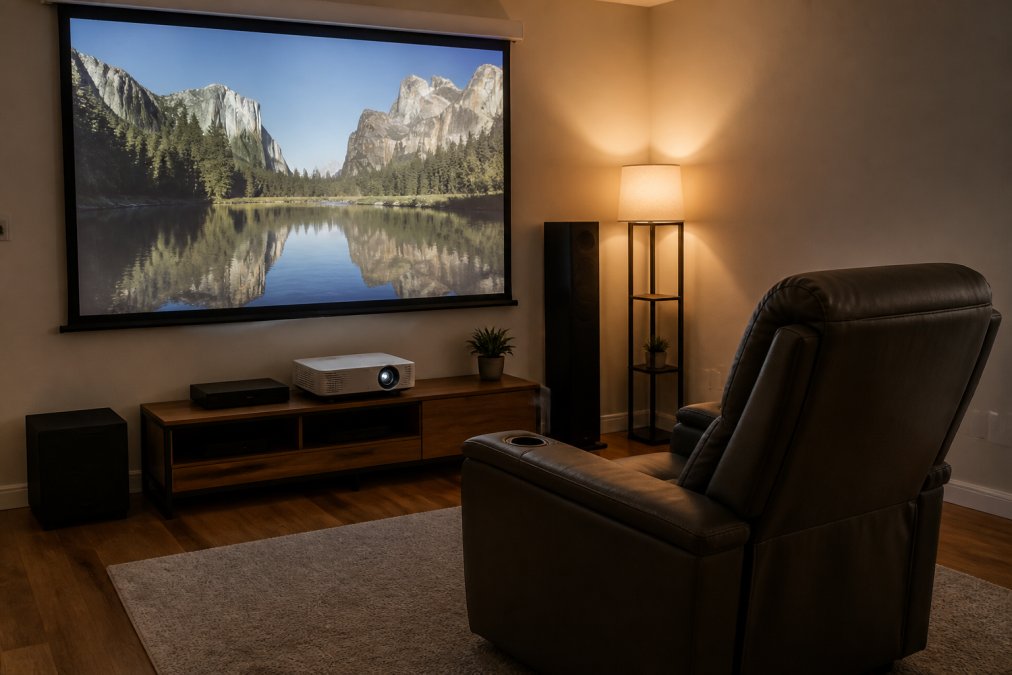
Place the projector so its lens is perpendicular to the center of the screen, not off to one side. Even with keystone correction, an extreme side angle degrades picture quality. If you are using a ceiling mount, center the mount over the middle of the screen. For shelf placement, keep the projector as close to the screen's horizontal center as possible.
Vertical positioning matters just as much. Most projectors have a small amount of lens shift, which physically moves the image up or down without distortion. If your projector lacks lens shift, you will need to tilt it slightly and rely on keystone correction. The goal is to minimize keystone correction, since it can slightly soften the image.
Managing Cables and Connecting Your Devices
Cable management in a small room prevents tripping hazards and keeps the space looking clean. Run HDMI and power cables along baseboards or behind furniture using adhesive cable clips. For a projector on a ceiling mount, a cable cover kit hides the wires running down the wall. Most modern projectors support wireless streaming, which eliminates the need for a long HDMI run if you are casting content.
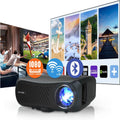
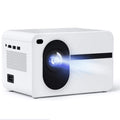
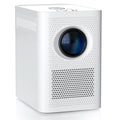
For the best picture quality, connect a streaming stick or game console directly to the projector's HDMI port. The Nova 300 Smart Home Theater Projector from JoeMo Promo includes built-in WiFi and Bluetooth, so you can stream directly from your phone or pair wireless speakers without a single cable between devices. If you do use HDMI, choose a high-speed cable rated for 4K.
Adjusting Focus, Keystone, and Audio
Turn the projector on and display a test pattern or a menu screen with text. Adjust the focus ring until the text at the edges of the image is as sharp as the text in the center. Then use keystone correction to square up the image if the projector is tilted. Some projectors, including the Nova 300, automate this process with auto-focus and automatic keystone correction.
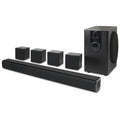
Audio is the last piece. Built-in projector speakers are acceptable for casual viewing, but they lack the bass and clarity for an immersive movie night. A soundbar connected via Bluetooth or an auxiliary cable dramatically improves dialogue clarity. Place the soundbar directly below or above the screen, facing the seating position.
Common Mistakes to Avoid in a Small Room Projector Setup
The most common mistake is ignoring ambient light. Projectors need darkness to perform well, and a small room with large windows can wash out the image entirely. Blackout curtains are the cheapest upgrade you can make. A second mistake is mounting the projector too high or too low, which forces heavy keystone correction and softens the image.
Another frequent error is overlooking the room's acoustics. Small rooms with hard floors and bare walls create echo, which muddies dialogue. Adding a rug, some wall art with fabric, or acoustic panels behind the seating area absorbs reflections. Finally, do not underestimate power management. Plug the projector and its accessories into a surge protector, and make sure the projector has adequate ventilation.
Power Management and Fire Safety in Tight Spaces
Power management is not just about cable clutter; it is a genuine safety concern in a small room where outlets are scarce and power strips are common. A typical projector draws between 150 and 300 watts, and a soundbar or AV receiver can add another 100 to 200 watts. Plugging these into a single power strip risks overloading the circuit, especially if the strip is daisy-chained to another strip.
Use a surge protector with a built-in circuit breaker rated for at least 15 amps, and never plug one surge protector into another. Check the wattage rating on the strip; most are rated for 1,800 watts, but the connected devices should not exceed 80 percent of that. Avoid running power cables under rugs or carpets, where they can overheat and become a trip hazard.
Ventilation and Overheating Prevention
Projectors generate substantial heat, and small rooms often lack the airflow of larger spaces. If you place the projector inside a closed cabinet or on a shelf with less than 6 inches of clearance on all sides, the internal fan cannot exhaust hot air effectively. Many budget projectors have thermal protection that shuts the unit down, but repeated overheating can permanently damage the lamp or the LCD panel. Leave the front and back of the cabinet open, or install a small USB-powered fan near the exhaust vent.
Also, be mindful of the ambient room temperature. If the room regularly exceeds 85°F, the projector's cooling system works harder and may shorten the lamp's lifespan. Consider running the projector in eco mode, which reduces heat output and fan noise. If you notice the image dimming or the fan running at full speed constantly, check the air filter.
Conclusion: Your Small Room Projector Setup Is Ready
Setting up a projector in a small room is entirely achievable when you measure first, choose the right throw distance, and follow a logical installation order. The key is matching the projector to your physical space rather than forcing a standard model into a room that cannot accommodate it.
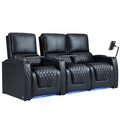
JoeMo Promo makes this process simpler with projectors designed for immediate enjoyment. The Nova 300 Smart Home Theater Projector features auto-focus and keystone correction, a 360-degree rotating stand for flexible wall or ceiling projection, and wireless speaker connectivity for a clutter-free setup, all capable of delivering a stunning 300-inch image. Browse the Shop the Collection to find the projector and seating that turn your small room into a private theater.

Frequently Asked Questions
What is the 4 6 8 rule for projectors?
The 4 6 8 rule is a quick reference for figuring out the best seating distance for your screen size. For every 1 unit of screen height, the ideal viewing distance is 4 to 8 units away. For a 16:9 screen, this roughly translates to a viewing distance of 1.5 to 2.5 times the screen's width. This rule helps you determine if your small room can comfortably fit a screen large enough for an immersive experience without causing eye strain.
Do projectors work in small rooms?
Yes, projectors work well in small rooms, but you need to plan carefully. The main challenges are finding enough throw distance and managing ambient light. A short throw projector is often the best choice for a small room projector setup, as it can produce a large image from a short distance. Also, controlling the room's light with blackout curtains will significantly improve image quality.
How dark does a room need to be for a projector?
The darker the room, the better the image contrast and color saturation will be. You don't need total darkness, but you should minimize ambient light. Blackout curtains on windows and turning off any lights that shine directly on the projection surface will make the biggest difference. A projector with higher lumens can perform better in rooms with some ambient light, but a dark room is always best for a cinematic picture.
This article was written using GrandRanker