How to Improve Home Theater Acoustics
Table of Contents
- Assess Your Room's Acoustic Baseline
- How to Place Speakers for Surround Sound
- Best Acoustic Panels for Home Theater
- Install Bass Traps and Manage Low-Frequency Energy
- DIY Acoustic Treatment Ideas
- Calibrate Your System for Optimal Sound
- Frequently Asked Questions
Last Updated: September 4, 2026
Assess Your Room's Acoustic Baseline
Before spending on gear, diagnose your room's acoustic problems. A $2,000 speaker setup in a "live" room will still sound hollow and harsh. Identify the physical causes of muddled audio so you can fix the source, not mask the symptoms.
Identify room modes and standing waves
Room modes are low frequencies that resonate between parallel walls, creating peaks and troughs in bass response. When a frequency matches the distance between two walls, it builds up energy, causing certain bass notes to boom while others disappear.
A common mistake is blaming the subwoofer for uneven bass; the room is the culprit. Play a test tone and sweep from 30 Hz to 200 Hz, the loud notes are your room modes. Fix them by repositioning seating and adding bass traps.
Listen for flutter echo and reverberation
Clap your hands sharply in the center of the room. A rapid, ringing "slap" indicates flutter echo, sound bouncing between hard, parallel surfaces. It adds metallic coloration to dialogue and is common in rooms with drywall, bare floors, and large windows.
Reverberation time, the length of time it takes for sound to decay by 60 decibels, is the other key metric. In a dedicated home theater, you want a relatively "dead" room with a reverberation time under 0.4 seconds to keep dialogue intelligible. Acoustic treatment guidance from the Audio Engineering Society explains that untreated rooms often exceed this, resulting in a washed-out, boomy presentation. If your clap test reveals a long ring-out, you have excessive reverberation that absorption panels will cure.
How to Place Speakers for Surround Sound
Speaker placement is the most cost-effective upgrade to improve home theater acoustics. Correct positioning creates a believable soundstage where dialogue comes from the screen and effects move naturally around you.
Position your center speaker and main channels
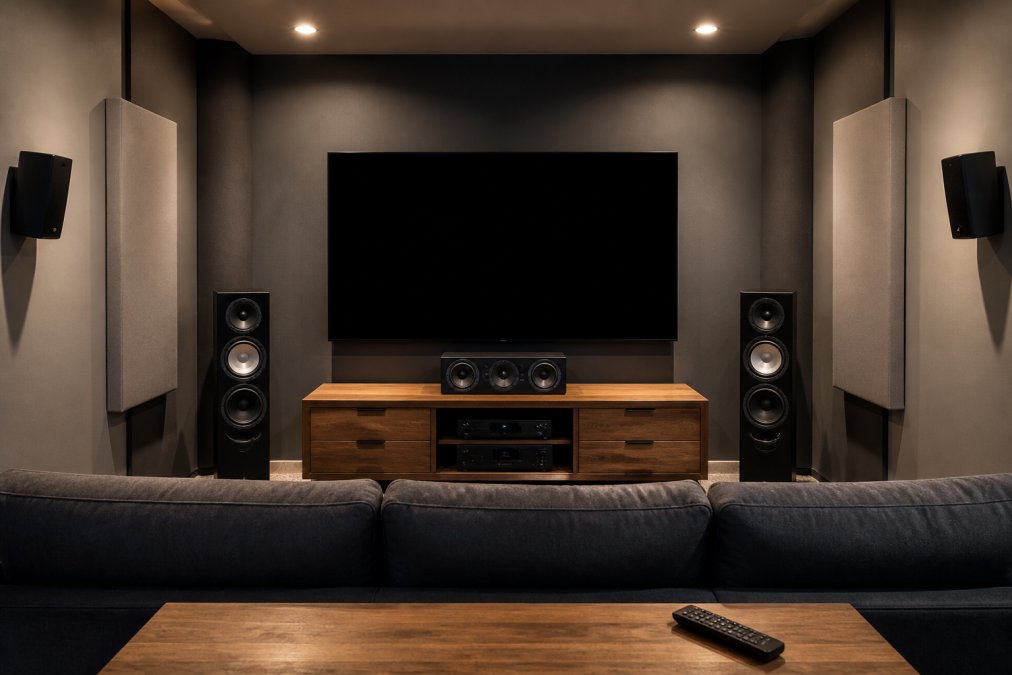
The center channel carries most dialogue, so place it at ear level, just above or below your display. If in a cabinet, pull it forward to the front edge to avoid sound bouncing off the shelf.
Your front left and right speakers should form an equilateral triangle with your listening position. Measure the distance between them, then sit that same distance back from the midpoint. Keep all three front speakers at the same height aimed at your ears.
Install surround speakers for immersion
Mount surround speakers slightly behind your listening position on side walls or stands, aimed at the walls rather than your ears. This creates diffuse ambience instead of pinpointing the speaker. Position them two to three feet above ear level.
Speaker toe-in and listening position
Speaker toe-in means angling your front speakers inward so tweeters point toward your listening position. Rotate them gradually until the center image snaps into focus. Over-toeing narrows the sweet spot, so use subtlety.
Your listening position matters most. Sit roughly one-third into the room, away from the back wall. Sitting against the rear wall amplifies bass and muddies the low end. Even pulling your couch forward one foot improves clarity immediately.
Best Acoustic Panels for Home Theater
Once speakers are placed, manage sound bouncing off walls with acoustic panels. They absorb sound energy, converting it to heat through friction in porous material rather than reflecting it back.
Broadband absorbers vs. specialized panels
For home theater, broadband absorbers are the right choice. They absorb sound from 200 Hz to 4 kHz, covering dialogue and music. Specialized narrow-band panels are designed for studios and less useful at home.
Use dense mineral wool or fiberglass wrapped in fabric, not thin foam. Foam absorbs only highs, leaving muddy bass. Rigid fiberglass or mineral wool at least two inches thick is the industry standard (aes.org).
Target primary reflection points
The highest-impact location is your primary reflection points, spots on side walls and ceiling where front speaker sound bounces once before reaching your ears. This delayed sound smears imaging and reduces clarity.
To find them, sit in your listening position and have a helper slide a mirror along the side wall. When you see the tweeter reflected, that's the reflection point. Place panels there, on the opposite wall, and on the ceiling. These three points deliver the most improvement for least effort.
Install Bass Traps and Manage Low-Frequency Energy
Low-frequency energy below 200 Hz is hardest to control. Bass wavelengths measure several feet, so they interact with room dimensions rather than small wall panels. Bass traps are essential for tight, even bass.
Corner placement for bass trap effectiveness
Bass traps are most effective in corners, where low-frequency standing wave pressure is highest. A broadband absorber spanning the corner, either a thick diagonal panel or purpose-built corner trap, absorbs energy that flat wall panels cannot.
Place traps in as many corners as possible, starting behind your main speakers. Thicker traps absorb lower frequencies. A four-inch trap with an air gap behind it performs dramatically better than a thin one pressed flat.
Subwoofer calibration and positioning
Subwoofer placement has outsized effect on bass quality. Place it at your listening position, play a bass-heavy track, then crawl around the room listening for where bass sounds fullest and most even. This "subwoofer crawl" accounts for your room's specific modes.
Once positioned, set the crossover so the subwoofer blends seamlessly with your main speakers. For most systems, a crossover of 80 Hz is a solid starting point, sending only the deepest frequencies to the sub (cedia.net). Set the subwoofer's volume so bass is present but not overpowering, then fine-tune it after running room correction software.
DIY Acoustic Treatment Ideas
You don't need a professional installer. Many effective treatments are simple weekend projects costing a fraction of commercial panels, valuable for rooms that double as living spaces.
Budget-friendly absorption materials
Rigid fiberglass insulation panels, sold as duct liner or acoustic board, are the same material as commercial panels. Wrapped in breathable fabric and mounted in a wooden frame, they perform identically at a fraction of the cost.
Moving blankets or thick comforters are temporary solutions for apartments. Bookshelves with varying depths break up flutter echo. Dense curtains absorb highs and reduce window reflections.
Diffusers vs. absorbers for your space
Acoustic diffusers scatter sound rather than absorbing it, preserving room liveliness while eliminating harsh reflections. For multi-purpose living rooms, diffusers on the rear wall maintain spaciousness that heavy absorption would kill.
Diffusers work best above 1 kHz and can be made from wooden slats or staggered bookshelves. Prioritize absorbers at reflection points and bass traps in corners; diffusers are a finishing touch for the rear wall. In small rooms, prioritize absorption.
Calibrate Your System for Optimal Sound
Electronic calibration is the final step most people skip. Modern receivers include room correction software that measures your room and applies digital filters to flatten frequency response. This is the fastest way to improve acoustics after physical changes.
Measure frequency response with free software
If your receiver lacks automatic room correction, free software like Room EQ Wizard turns a laptop and cheap microphone into a professional analysis tool, revealing peaks and dips in frequency response.
Don't run calibration before adding acoustic treatment. The software will boost frequencies to compensate for room modes, consuming amplifier power and straining speakers. Treat the room first, then calibrate.
Fine-tune speaker levels and delay
After room correction, verify speaker levels and distances manually. The delay setting ensures sound from all speakers arrives simultaneously at your ears.
Set overall volume so movie scenes play at realistic levels. If you adjust volume during quiet dialogue or action scenes, use dynamic range compression (often "night mode") to tame peaks while keeping dialogue audible.
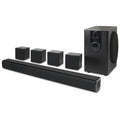
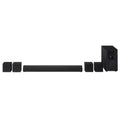
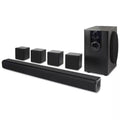
A well-treated room transforms a good system into a great one. The process is methodical: measure the room, position the speakers, absorb the early reflections, trap the low end, and calibrate the electronics. Each step builds on the last, and skipping one leaves performance on the table. For a ready-made solution that pairs well with a treated room, the iLive 5.1 Surround Sound System from JoeMo Promo delivers crisp dialogue and deep bass with plug-and-play setup, so you can focus on the acoustic treatment rather than wiring.

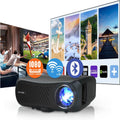
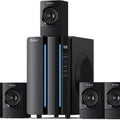
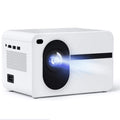
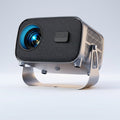
Improving your home theater acoustics does not require a construction crew or a six-figure budget. By measuring your room, positioning your speakers correctly, adding targeted absorption and bass management, and finishing with system calibration, you can achieve a level of clarity and immersion that rivals a commercial cinema. At JoeMo Promo, we know that great sound is the difference between watching a movie and living it. Our handpicked surround sound systems, projectors with automatic focus and keystone correction, and wireless speaker connectivity are designed for effortless setup, so you can spend your time enjoying the film, not troubleshooting the gear. Shop the collection and turn your room into the theater it was meant to be.
Frequently Asked Questions
Do I really need acoustic panels for my home theater?
Acoustic panels address sound absorption and reduce reverberation time, which improves dialogue clarity and overall imaging. If your room has hard surfaces (drywall, tile, hardwood), sound bounces excessively and creates muddy audio. Panels aren't mandatory if you're okay with boomy bass or muffled dialogue, but they're a way to improve home theater acoustics without moving walls or furniture.
What's the best way to reduce echo in my media room?
Echo and flutter echo occur when sound bounces between parallel walls. Place broadband absorbers on opposite walls, especially at primary reflection points (where sound bounces off walls toward the listening position). Add bass traps in corners to control low-frequency energy. Combine absorption with diffusers on some surfaces to scatter sound naturally instead of deadening the room entirely.
How do I know where to place acoustic panels?
Sit in your listening position and have someone clap or play a test tone. Listen for the loudest reflections and identify where sound bounces back. Mark those spots on the walls, typically at ear level on side walls (primary reflection points) and behind the listening area. Corners need bass traps for standing waves. Start with panels at these critical points before treating the entire room.
Can I use regular insulation as acoustic treatment?
Fiberglass insulation and mineral wool absorb mid and high frequencies effectively and cost far less than commercial acoustic foam. However, they're not fire-rated for exposed use indoors, they must be enclosed in a fabric frame or wall cavity. For DIY treatment, wrap insulation in acoustic fabric and mount it as panels. This approach works well for budget-conscious setups targeting sound absorption without commercial pricing.
This article was written using GrandRanker