Wireless Home Theater Speaker Setup Guide
Table of Contents
- What You'll Need Before Starting
- Best Wireless Surround Sound System Placement
- Wireless Home Theater Speaker Power Requirements
- Connecting Your Wireless Transmitter and Receiver
- How to Fix Bluetooth Audio Lag in Your Setup
- AV Receiver Configuration and Audio Calibration
- Common Mistakes to Avoid
- Conclusion
Last Updated: August 29, 2026
What You'll Need Before Starting
Setting up a wireless home theater speaker system requires the right components, a clear understanding of your room's layout, and a methodical approach to placement and calibration.
Start with an AV receiver that supports wireless connectivity and processes audio signals to your speakers. Look for models with Bluetooth capability and support for higher-quality wireless protocols that minimize latency. The receiver also handles channel configuration, allowing you to adjust levels for each speaker independently.
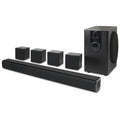
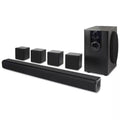
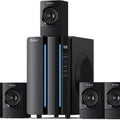
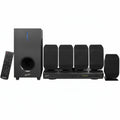
You'll need a complete speaker set: front left and right speakers, a center channel speaker for dialogue, rear surround speakers, and a subwoofer for bass frequencies. A quality 5.1 surround sound system like the iLive 5.1 Surround Sound System pairs easily over Bluetooth and delivers full-room impact without requiring separate receiver components. If you're working with a smaller budget, the JoeMo 800W Surround Sound System gives you real subwoofer punch at a lower price point.


Beyond speakers and a receiver, gather a calibration microphone, RCA cables for wired connections, and a wireless transmitter if running a hybrid setup. You'll also want a measuring tape to verify speaker placement distances. Finally, ensure your room has adequate power outlets near speaker locations and plan your cable runs before starting.
Best Wireless Surround Sound System Placement
Proper speaker placement determines whether your setup sounds immersive or just loud. The goal is to create a cohesive soundfield where dialogue stays clear, effects surround you naturally, and bass integrates seamlessly.
Front Speaker Positioning
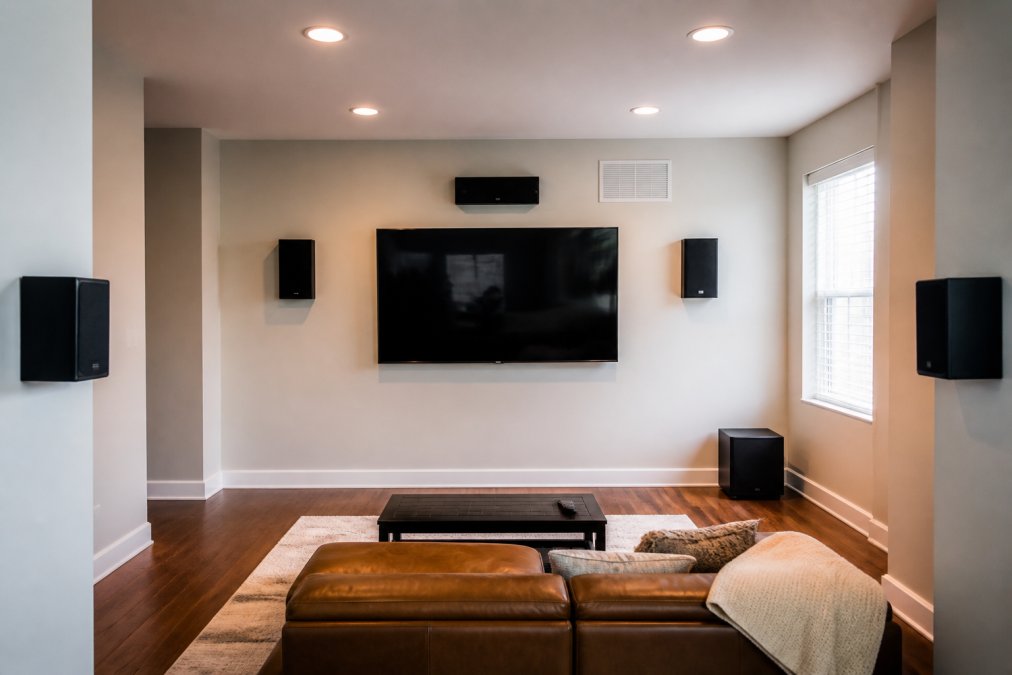
Position your left and right front speakers at ear level when seated, roughly 24 to 36 inches above the floor, angled slightly inward toward the listening position (15 to 30 degrees of toe-in). This convergence creates a focused center image and prevents the soundstage from feeling too wide.
Place them at least 6 to 10 feet apart to establish width in the soundstage. Ideally, they should be equidistant from your primary listening position. If your room forces asymmetry, use your AV receiver's calibration system to compensate with level and delay adjustments.
The center channel speaker sits above or below your TV, typically mounted on top of the display at ear level or slightly above, angled downward toward seated listeners. This speaker carries 60 percent of movie dialogue, so placement here directly impacts dialogue clarity (aes.org).
Rear Surround Speaker Angles
Mount rear surrounds 1 to 2 feet above ear level, roughly 60 to 96 inches from the floor. Position them on the side walls, slightly behind the listening position, rather than directly behind it. This placement delivers ambient effects without creating a "hole" in the soundfield directly behind you.
Distance from the listening position should be roughly equal for both rear surrounds. If your room is asymmetrical, use your receiver's delay settings to time-align the surrounds with your front speakers. Rear surrounds should be noticeably behind the primary seating area, too far forward and they'll fight with your front soundstage.
Subwoofer Location and Room Acoustics
Start by placing your subwoofer in the corner where your front left or front right speaker lives. Bass couples well to room corners. If corner placement sounds boomy, move the sub forward into the room by 1 to 2 feet at a time. Many rooms have a sweet spot 3 to 6 feet from the corner where bass integrates smoothly.
Never place your subwoofer in the center of the room or in the middle of a wall. The subwoofer should sit near your front speakers, not hidden in another room.
Room dimensions directly affect bass response. Acoustic treatment, like bass traps in corners and absorptive panels on walls, smooths peaks and nulls. Even basic treatment, like heavy curtains and bookcases, helps. If your room is highly reflective with hard walls and tile floors, bass will sound exaggerated. Adding soft furnishings naturally absorbs energy.
Wireless Home Theater Speaker Power Requirements
Your AV receiver, subwoofer, and any powered speakers all need AC outlets. A typical 5.1 surround sound system draws between 200 and 400 watts during normal playback, spiking to 600 watts or more during dynamic action scenes (cedia.net).
Most household circuits supply 15 amps at 120 volts, which equals 1,800 watts of available power. Avoid running your home theater system on the same circuit as other high-draw devices like refrigerators, air conditioning units, or microwave ovens. Shared circuits create voltage sag, which degrades audio quality.
Dedicated circuits are ideal. If that's not practical, use a high-quality power conditioner rated for your total system draw. A power conditioner filters noise and regulates voltage, protecting your equipment and improving sound quality.
Connecting Your Wireless Transmitter and Receiver
Wireless connectivity in home theater comes in two flavors: Bluetooth for simplicity, and proprietary wireless protocols for reliability and range.

Pairing Bluetooth Devices
Put your receiver into pairing mode, usually by holding a button for 3 to 5 seconds until an LED blinks. On your TV or source device, navigate to Bluetooth settings and scan for available devices. Select your receiver and confirm the pairing on both devices.
Bluetooth range typically extends 30 feet in open space, but walls and interference reduce this significantly (bluetooth.com). Position the receiver where it has a clear line of sight to your source device.
One critical limitation: Bluetooth introduces latency. Audio arrives at your speakers 100 to 300 milliseconds after the video plays on your TV. For music or ambient effects, you won't notice. For dialogue-heavy content, lips won't match words.
Hybrid Wired and Wireless Configurations
The best wireless home theater speaker setups use a mix of wired and wireless connections. Run your AV receiver to your TV via HDMI, which carries video and audio with zero latency. Use Bluetooth or wireless protocols only for rear surrounds and subwoofers, which don't need to sync precisely with dialogue.
Your front three speakers and subwoofer should connect via wired RCA or XLR connections to your receiver. Rear surrounds can go wireless because they're ambient and don't carry dialogue or precise timing cues.
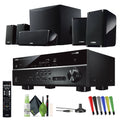
If your receiver doesn't have enough wired outputs for all your speakers, use a wireless speaker kit designed specifically for rear surrounds. The Yamaha YHT-4950U 5.1 Home Theater System includes wireless capability for surrounds while keeping front channels wired, which is the ideal compromise.
How to Fix Bluetooth Audio Lag in Your Setup
Latency is the enemy of wireless home theater. When audio arrives late, dialogue falls out of sync with lips, and the entire experience feels off.
Wireless Latency and Synchronization Issues
Bluetooth's latency problem stems from how the protocol works. Standard Bluetooth introduces 100 to 300 milliseconds of latency, enough to notice on dialogue. Newer Bluetooth codecs like aptX Low Latency reduce this to 40 to 50 milliseconds, which is barely perceptible. If your TV and receiver both support aptX Low Latency, enable it in the Bluetooth settings.
The simplest fix is to avoid Bluetooth for your main audio path entirely. Use wired HDMI or optical connections from your TV to your AV receiver. HDMI carries both video and audio with zero latency. If you must use Bluetooth, enable any low-latency options your receiver offers.
Wireless Interference Mitigation
Interference is the second major cause of dropouts and quality loss. Your home theater operates on the 2.4 GHz band, shared with WiFi routers, microwaves, cordless phones, and countless other devices.
Position your AV receiver away from your WiFi router. If they're in the same entertainment center, separation of 3 to 6 feet helps. Switch your WiFi router to the 5 GHz band, which doesn't overlap with Bluetooth and most wireless speaker protocols.
Cordless phones operating on 2.4 GHz are notorious interference culprits. If you experience dropouts, try switching it off during movie night or replacing it with a DECT 6.0 model. Antenna placement on your receiver matters, position it vertically and away from metal objects.
For rear surround speakers, wireless protocols like 2.4 GHz proprietary systems offer better range and reliability than Bluetooth. These dedicated protocols include error correction and automatic frequency hopping, which switches channels if interference is detected.
AV Receiver Configuration and Audio Calibration
Once your speakers are positioned and connected, calibration determines whether your system sounds balanced or uneven.
Setting Channel Levels and Crossover Frequency
Start by setting your channel levels using your receiver's built-in test tone feature. Most receivers generate a pink noise signal that cycles through each speaker. Set all speakers to 75 decibels at your listening position. This ensures that dialogue from the center channel matches the volume of effects from front surrounds.
Crossover frequency determines where your subwoofer takes over from your main speakers. Most receivers default to 80 Hz, which works for most rooms. Experiment within your receiver's range to find where bass integrates smoothly.
Distance settings compensate for speaker placement asymmetry. If your left speaker is 10 feet from your listening position and your right speaker is 12 feet away, set the distance for the right speaker 2 feet higher. Your receiver delays the right speaker's signal so both arrive at your ears simultaneously.
Using a Calibration Microphone
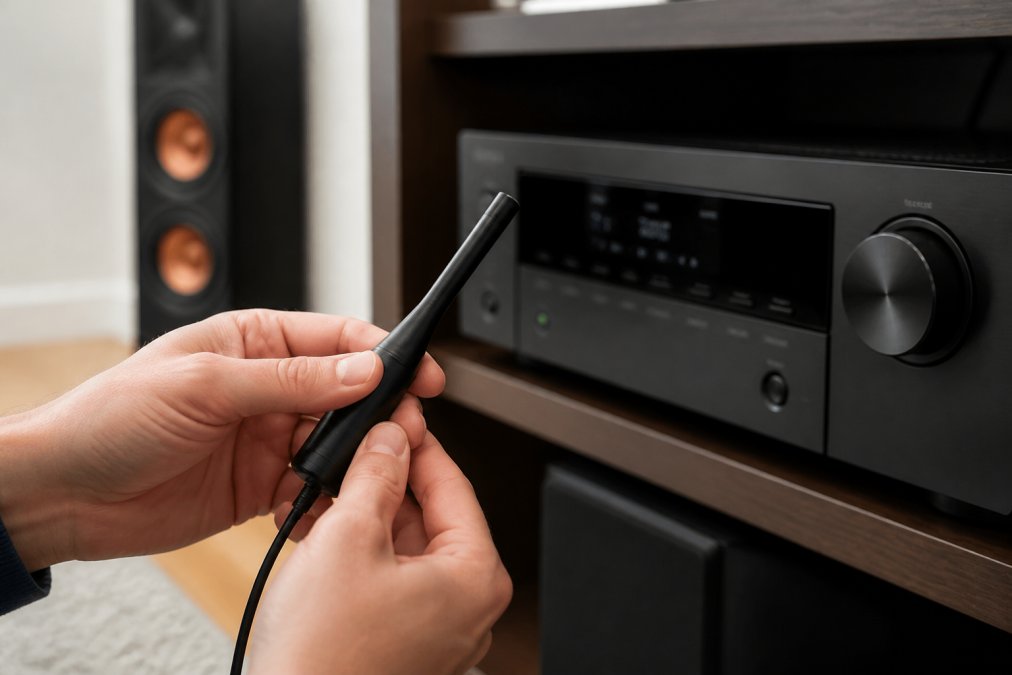
Position the microphone at ear level in your primary listening position. Keep the microphone away from reflective surfaces, don't place it against a wall or window, as reflections skew measurements. Run your receiver's automatic calibration routine, which generates test tones through each speaker and measures the response.
The microphone captures frequency response variations caused by your room's acoustics. Your receiver uses the microphone data to apply equalization that compensates for these room effects. Many modern receivers include room correction software like Dirac Live or Audyssey that measures your room at multiple positions and applies sophisticated equalization to flatten response and improve imaging.
Common Mistakes to Avoid
Most wireless home theater speaker setups fail because of placement and configuration errors, not equipment.
Placing the subwoofer in the wrong location is the most common error. Always experiment with placement, moving the subwoofer 1 to 2 feet at a time and listening for where it integrates best.
Ignoring wireless interference leads to dropout and quality loss. Move your receiver away from your WiFi router, cordless phones, and microwaves, or switch your WiFi to 5 GHz.
Skipping calibration leaves performance on the table. Spend 30 minutes with your receiver's calibration tools, it's the difference between a good system and a great one.
Mounting rear surrounds too high or too far forward breaks immersion. Surrounds should be 1 to 2 feet above ear level and noticeably behind the listening area.
Using Bluetooth for your main audio path introduces latency that makes dialogue sync problems obvious. Connect your TV to your receiver via HDMI or optical for zero-latency audio.
Undersizing your power supply creates distortion and dropout. Make sure your AV receiver and subwoofer have dedicated, high-quality power connections.
Setting up a wireless home theater speaker system doesn't require professional installation if you understand placement, calibration, and the limitations of wireless technology. The Supersonic Bold 5.1 Surround System delivers the kind of surround presence that makes action movies feel immersive. Pairing it with proper speaker placement and receiver calibration transforms your living room into a genuine theater experience. Start with quality speakers, position them thoughtfully, calibrate carefully, and you'll have a system that sounds professional and feels effortless to use.
Frequently Asked Questions
How do wireless home theater speakers get power?
Wireless home theater speakers require AC power outlets, even though they transmit audio wirelessly. Each speaker, including rear surrounds and subwoofers, must be plugged in to operate. The wireless connection only handles the audio signal, not power delivery. Plan your speaker placement around available outlets, or use power extension cords strategically placed along baseboards. Some systems, like the JoeMo 800W Surround Sound System, come with remote controls and built-in EQ modes, making it easy to adjust settings from your listening position without moving near outlets.
What is the best placement for wireless rear speakers?
Mount rear surround speakers 1-2 feet above ear level (roughly 7-9 feet high) on the side or back walls of your room. Position them 90-110 degrees from the center listening position for optimal surround sound immersion. Avoid placing them directly behind the listening area; instead, angle them slightly toward the seating zone. Keep them at least 6 feet away from the TV to prevent audio interference. This placement creates the enveloping soundstage that makes action movies and sports broadcasts feel immersive without drawing attention away from the front screen.
How to fix Bluetooth audio lag in home theater systems?
Bluetooth audio lag typically stems from wireless interference, distance from the transmitter, or codec limitations. First, reduce interference by moving your system away from WiFi routers, microwaves, and cordless phones. Keep wireless receivers within 30 feet of the transmitter for optimal performance. If lag persists, check your AV receiver's audio delay settings and adjust them to sync video and audio. Some systems support aptX or LDAC codecs, which have lower latency than standard Bluetooth. For critical applications, consider a hybrid setup combining Bluetooth for convenience with hardwired RCA connections for sources requiring zero lag, like gaming consoles.
Do I need an AV receiver for a wireless home theater setup?
Not necessarily. Many wireless surround sound systems, like the iLive 5.1 Bluetooth system, connect directly to your TV via Bluetooth or optical cable without requiring a separate AV receiver. These plug-and-play systems work well for basic setups and smaller rooms. However, if you want advanced features like manual channel calibration, crossover frequency adjustment, or support for multiple audio sources, an AV receiver provides more control and flexibility. A receiver becomes essential when mixing wired and wireless components or if you plan to expand your system with additional speakers or height channels for Dolby Atmos.
This article was written using GrandRanker