Can I Install Home Theater Myself? A DIY Guide
Table of Contents
- Can You Really Install Home Theater Yourself?
- Assessing Your Skill Level Before You Start
- DIY Home Cinema Room Design Ideas for 2026
- Home Theater Wiring Guide for DIY Installation
- Home Theater Installation Cost: DIY vs. Professional
- Step-by-Step DIY Installation Process
- Common DIY Installation Mistakes to Avoid
- Post-Installation Maintenance and Care
- Frequently Asked Questions
Last Updated: August 31, 2026
Can You Really Install Home Theater Yourself?
Yes, you can install home theater yourself. Whether it's practical depends on your skill level, available space, and how much complexity you're willing to tackle. Some parts are genuinely simple; others require careful planning or professional help.
At JoeMo Promo, we work with homeowners who successfully set up their own systems. Some handle the entire installation solo, while others bring in professionals for mounting and calibration. The real question isn't whether you can install home theater yourself, but which parts make sense for you to handle and where hiring help actually saves money.
Assessing Your Skill Level Before You Start
Be honest about what you're willing and able to do before you commit.
Basic skill level means you're comfortable with a drill, stud finder, and basic hand tools. You can handle speaker placement, cable routing, and most mounting tasks. You'll likely want professional help with complex electrical work or structural modifications.
Intermediate skill level means you've done drywall work, run cables through walls, or handled basic home renovation projects. You understand audio concepts and can read technical documentation. You can tackle most installation steps yourself, including running HDMI cables through conduit and setting up surround sound.

Advanced skill level means you've done electrical wiring, built custom cabinetry, or worked with home automation systems. You understand building codes and local permitting requirements and can handle nearly everything except specialized calibration work.
DIY Home Cinema Room Design Ideas for 2026
Your room layout determines everything that follows: speaker placement, viewing angles, acoustic treatment, and whether your display actually works in the space you have.
Room Layout and Display Technology
Start with room dimensions and viewing distance. This single measurement drives every other decision.
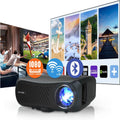
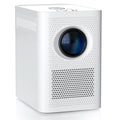
For a projector-based system, you need throw distance (the distance from projector to screen). A 12-foot-deep room won't work with a standard projector; you'll sit too close and the image will blur. A short-throw or ultra-short-throw projector solves this. In a small living room, a direct TV wall mount with a quality display might be your only realistic option.
Display technology choice depends on your room's ambient light and viewing distance. In a dedicated media room with light control, a projector with a 300-inch screen creates immersion that no TV can match. In a living room with windows and daytime use, a high-brightness TV with proper mounting angle gives better results.
Viewing angle matters more than people realize. Sit where you'll actually watch. If your seating is 15 feet from the display, a 55-inch TV looks small. A 75-inch makes sense. For a projector, the screen size should create a viewing angle of 30-40 degrees for immersion without eye strain (smpte.org).
Speaker Placement and Surround Sound Configuration
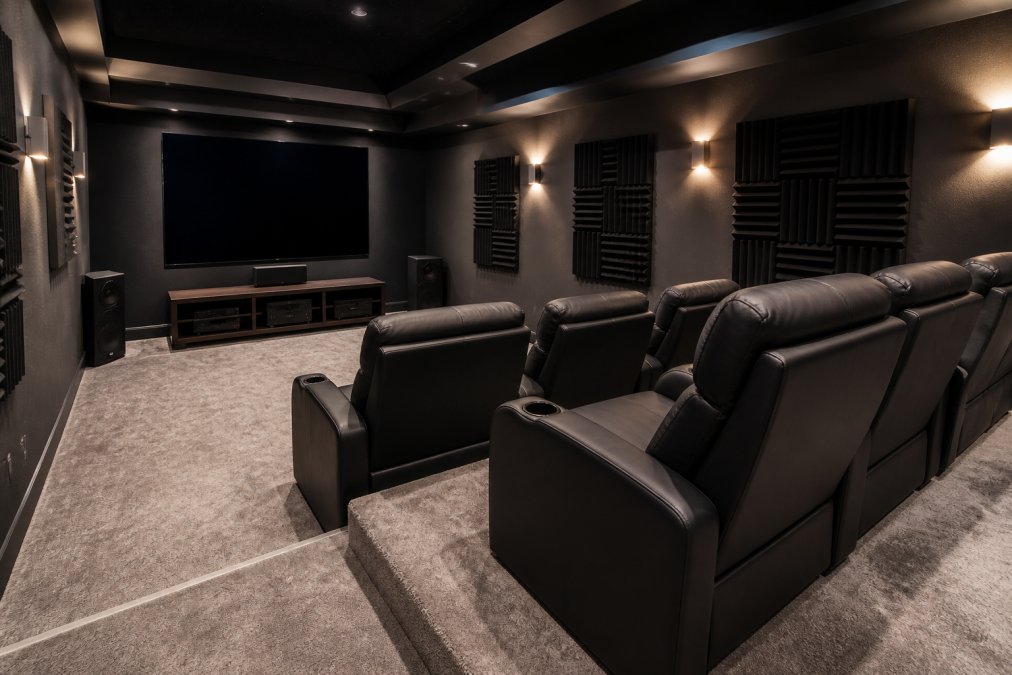
Surround sound speaker placement determines whether your system sounds immersive or just loud. A proper 5.1 setup places front left and right speakers at ear level, angled toward the listening area. The center channel goes at display height. Surround speakers mount on side walls, 1-2 feet above ear level, angled slightly down. The subwoofer placement is flexible but typically goes in a corner or along a wall.
Most rooms don't have ideal placement options. Your side walls might be too close to seating, or your ceiling too low for proper surround speaker height. Before you mount anything, map out speaker placement on paper. Measure distances, check that speakers aren't blocked by furniture, and verify that cables can actually reach from the receiver to each location.
For wireless speaker connectivity, position speakers where they have clear line-of-sight to your receiver. Walls and distance degrade wireless signals.
Acoustic Treatment and Soundproofing Basics
Acoustic treatment and soundproofing are different problems that most DIYers confuse.
Soundproofing keeps sound from traveling between rooms and requires mass and isolation, structural work usually requiring professional help.
Acoustic treatment improves sound quality inside the room by controlling reflections. Bare walls create echo and muddiness. Soft furnishings absorb some frequencies but miss others. Acoustic panels target specific frequency ranges.
Basic acoustic treatment helps significantly. Most DIY installations use a combination of furniture placement, curtains, and strategically placed panels, getting you 70% of the way to professional sound quality for a fraction of the cost. Panels absorb mid and high frequencies but don't control bass, which needs mass or specialized bass traps requiring major renovation.
Home Theater Wiring Guide for DIY Installation
Wiring is where DIY installations either look professional or become a cable nightmare.
Running HDMI and Audio Cables
Plan your cable routes before you run anything. Map out where cables need to go: from source devices to the receiver, from the receiver to the display, and from the receiver to each speaker.
HDMI cables work reliably up to about 50 feet (hdmi.org). Beyond that, you need active HDMI cables or fiber optic HDMI. Audio cables from the receiver to speakers should be rated for in-wall installation if running through walls. Speaker wire gauge matters for long runs: 14 AWG for runs under 50 feet, 12 AWG for longer distances.
Cable Management and Conduit Solutions
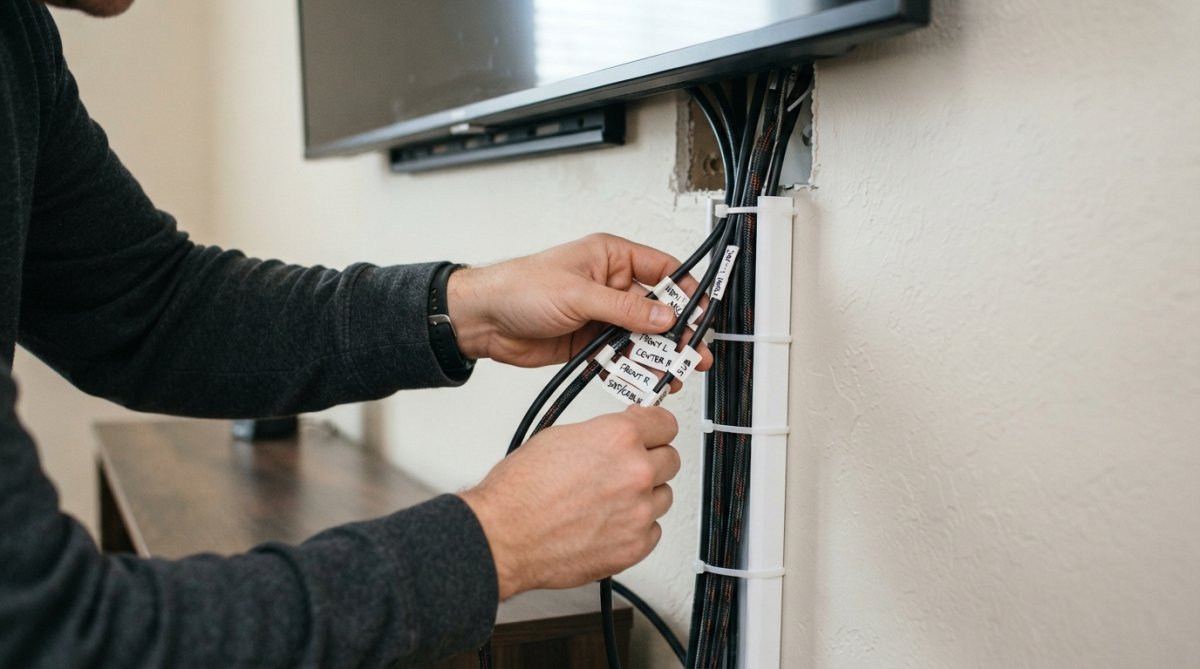
Run cables through conduit when exposed to protect them from damage and create a professional appearance. When running cables through walls, use a stud finder to locate framing, then drill pilot holes. Avoid drilling near electrical outlets or plumbing.
Label cables at both ends before installation. Use separate conduit runs for video and audio cables when possible.
Electrical Wiring and Safety Considerations
If your installation requires new electrical outlets, hire a licensed electrician. Running new circuits, installing outlets, and ensuring proper grounding requires understanding local electrical codes. An improperly installed outlet creates fire hazard. The cost is usually $150-300 per outlet but worth it for safety and compliance.
Check your electrical panel before starting. Verify that you have available circuit capacity for your equipment.
Home Theater Installation Cost: DIY vs. Professional
A basic DIY installation (mounting a TV, running speaker cables, connecting an AV receiver) costs mostly in equipment. The labor is your time, maybe 8-12 hours over a weekend. A professional installer charges $100-200 per hour, adding $400-1,200 to your total cost (bls.gov).
A complex installation (projector with ceiling mount, in-wall cable runs, new electrical outlet, acoustic treatment) changes the equation. DIY takes 40-60 hours across multiple weekends with likely mistakes requiring rework. A professional completes it in 15-20 hours and gets it right the first time, costing $1,500-3,000 but saving you time and preventing costly mistakes.
Most homeowners find a hybrid approach works best: handle straightforward parts yourself and hire professionals for complex or safety-critical work.
Step-by-Step DIY Installation Process
Mounting and Positioning Your Display
Locate wall studs with a stud finder. Your TV or projector mount needs to attach to studs, not just drywall. For a TV wall mount, locate studs, mark mounting holes, drill pilot holes, and install the bracket. Use a level to ensure it's straight.
For a projector, ceiling mounting requires finding ceiling joists using a stud finder designed for ceiling work. Projector throw distance is critical. Measure from your planned projector location to the screen wall and verify this distance matches your projector's throw ratio before you mount.
Installing Speakers and Configuring Surround Sound
Mount front speakers at ear level, angled toward your seating. The center channel goes at display height. Surround speakers mount on side walls, slightly above ear level.
Connect all speakers to your AV receiver using speaker wire, matching positive and negative terminals correctly. Reversed polarity creates weak, hollow sound. For a 5.1 system, you have five speaker connections: front left, center, front right, surround left, and surround right. Your subwoofer connects to a dedicated subwoofer output.
Test each speaker independently before finalizing placement. Play a test tone through each speaker and listen from your seating position. Adjust placement if any speaker sounds too loud, too quiet, or blocked by furniture.
Run the receiver's built-in calibration routine, which takes 15-20 minutes and makes a noticeable difference in sound quality.
Calibration and Testing Your System
After installation, your system needs calibration to sound its best. Basic calibration involves setting speaker levels so all speakers sound equally loud from your seating position. Your receiver's calibration microphone does this automatically.
Most receivers handle advanced calibration automatically, adjusting crossover frequencies, distance delays, and equalization. Test your system with content you know well, then make small adjustments to speaker placement or volume levels as needed.
Common DIY Installation Mistakes to Avoid
Underestimating cable length: Buy cable longer than you need. You can coil extra cable, but running out creates connection issues.
Ignoring room acoustics: A system that sounds great in the showroom sounds muddy in your living room without accounting for reflections.
Mounting displays without checking viewing distance: A 55-inch TV looks tiny from 15 feet away. Measure and verify before you mount.
Connecting everything to one power outlet: An overloaded circuit causes breakers to trip and can damage equipment.
Skipping calibration: Calibration takes 20 minutes and makes your system sound dramatically better.
Running cables carelessly: Cables pinched under baseboards or kinked around corners degrade signal quality.
Post-Installation Maintenance and Care
Check speaker connections every few months. Vibration from bass can loosen connections. Clean your display regularly according to manufacturer instructions. For projectors, replace lamps when brightness drops noticeably. Check cable runs annually for pinched cables, loose connections, or signs of wear. Recalibrate your system if you make major changes.
Installing home theater yourself is achievable if you match the scope to your skill level. Start with straightforward parts, mounting a display, connecting an AV receiver, running basic cables, and bring in professionals for complex work like electrical installation or structural modifications.

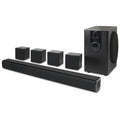
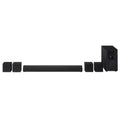
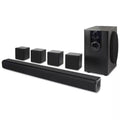
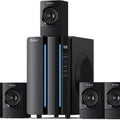
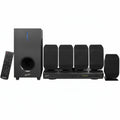
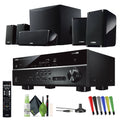
JoeMo Promo makes the equipment side simple. Our iLive 5.1 Surround Sound System at $519.99 delivers real surround sound with wireless connectivity and plug-and-play setup. For a more traditional setup, the Yamaha YHT-4950U 5.1 Home Theater System at $618.80 gives you Yamaha's reliability with 400W of total output power. Both systems handle the audio side with minimal complexity. Focus your DIY effort on physical installation, mounting, wiring, placement, and let proven equipment handle the sound quality. With proper planning and realistic expectations about your skill level, you'll have a home theater that rivals professional installations.
Frequently Asked Questions
How much does it cost to install a home theater system yourself?
DIY installation costs depend on your equipment choices. A basic 5.1 surround sound system like the iLive 5.1 Surround Sound System starts at $519.99. If you add a projector, mounting hardware, and acoustic treatment, budget for the cost of the equipment. Professional installation can add $500 to $2,000+ in labor, so DIY saves significantly if you have the time and comfort level to handle wiring, mounting, and calibration yourself.
Do I need a professional to install surround sound?
Not necessarily. Modern 5.1 surround sound systems like the Yamaha YHT-4950U are designed for DIY setup with Bluetooth connectivity and minimal wiring. If your system uses wireless speakers and plug-and-play connections, you can install it yourself in under an hour. However, if you're running electrical wiring through walls or need permits for permanent installation, hiring a professional electrician is recommended for safety and code compliance.
What are the biggest challenges of DIY home theater installation?
The main challenges include running cables through walls without damaging them, achieving proper speaker placement for balanced surround sound, managing acoustic reflections to avoid echo and bass buildup, and calibrating your AV receiver for optimal frequency response and crossover settings. Many DIYers also struggle with mounting displays at the correct viewing angle and height. Starting with a wireless system and avoiding wall-running cables can reduce complexity significantly.
Can I make a home theater in my own house without permanent modifications?
Yes. Wireless surround sound systems, rotating projector stands, and temporary acoustic panels let you build a functional home theater without drilling, mounting, or running permanent wiring. The iLive 5.1 Surround Sound System with Bluetooth connectivity requires only power outlets and clear sightlines. This approach works well for renters or anyone hesitant about permanent installation, though permanent mounting and in-wall wiring do provide better aesthetics and cable management.
This article was written using GrandRanker