How to Mount Projector on Ceiling: Step-by-Step
Table of Contents
- What You'll Need Before You Start
- Locating Ceiling Joists and Planning Your Mount
- Understanding Projector Throw Distance and Measuring Your Space
- Installing the Mounting Bracket and Securing to the Ceiling
- How to Hide Projector Cables in Your Ceiling
- Ceiling Mount Projector Safety Tips and Weight Limits
- Adjusting Your Projector Settings for a Flawless Image
- Common Mistakes to Avoid
Last Updated: August 27, 2026
What You'll Need Before You Start
Gather a stud finder to locate ceiling joists, a power drill with appropriately sized bits, a level, tape measure, pencil, and the mounting hardware specified for your ceiling type. Toggle bolts work for drywall between joists; lag bolts or threaded rods suit solid wood joists. Include a voltage tester to confirm no electrical wiring runs through your work area, and recruit a helper to hold the mount steady while you drill.
For cable management, gather conduit or cable raceways to hide HDMI and power lines. If your projector has a separate power supply, plan how to secure it near the ceiling or route it discreetly to an outlet.
Locating Ceiling Joists and Planning Your Mount
Use your stud finder to scan the ceiling in a grid pattern, marking joist locations with a pencil. Joists typically run perpendicular to your wall and are spaced 16 or 24 inches apart. Once you've mapped them, plan where your mounting bracket will sit, balancing structural support, throw distance, and cable routing.
Your projector should be centered on the screen or wall you're projecting onto. Offset mounting requires keystone correction, which degrades image quality. Check for obstacles like recessed lighting, HVAC ducts, and plumbing before committing to a location. Mark your mounting holes using the drilling template, aligning it with at least two joists for maximum stability.
Understanding Projector Throw Distance and Measuring Your Space
Throw distance is the measurement from your projector's lens to the screen or wall where the image appears. A projector with a 1.5:1 throw ratio needs to be 15 feet away to project a 100-inch image (peer-reviewed research). A 0.5:1 ratio (ultra-short throw) produces the same image from just 5 feet away.
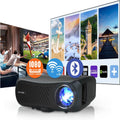
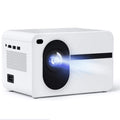
Measure your room's depth from the wall you want to project on to your planned ceiling mounting location. Calculate your required throw distance using the projector's specifications. If your ceiling height or room depth doesn't match the projector's throw distance range, you'll need either a different projector or a different mounting location. The Nova 300 Smart Home Theater Projector supports flexible projection angles, making it adaptable to various room layouts.
Check your projector's specs for lens shift capabilities, which adjust the image position without tilting the entire unit, preserving image quality.
Installing the Mounting Bracket and Securing to the Ceiling
Start by drilling pilot holes at your marked locations using a drill bit slightly smaller than your mounting bolts. Drill slowly and steadily to prevent the ceiling from cracking and to guide your bolts straight.
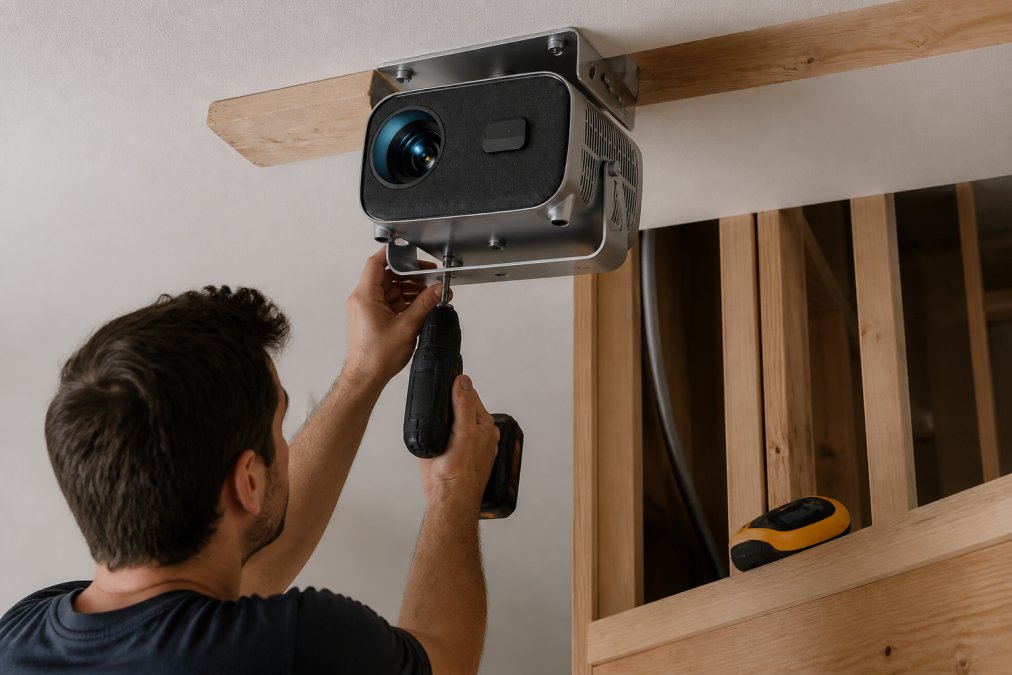
Insert your anchor bolts or toggle bolts. If you're mounting into solid joists, threaded rods with washers and nuts provide excellent holding power. Hand-tighten first, then use a wrench to snug them firmly. Attach the ceiling plate to the bolts, tightening in a cross pattern to distribute pressure evenly.
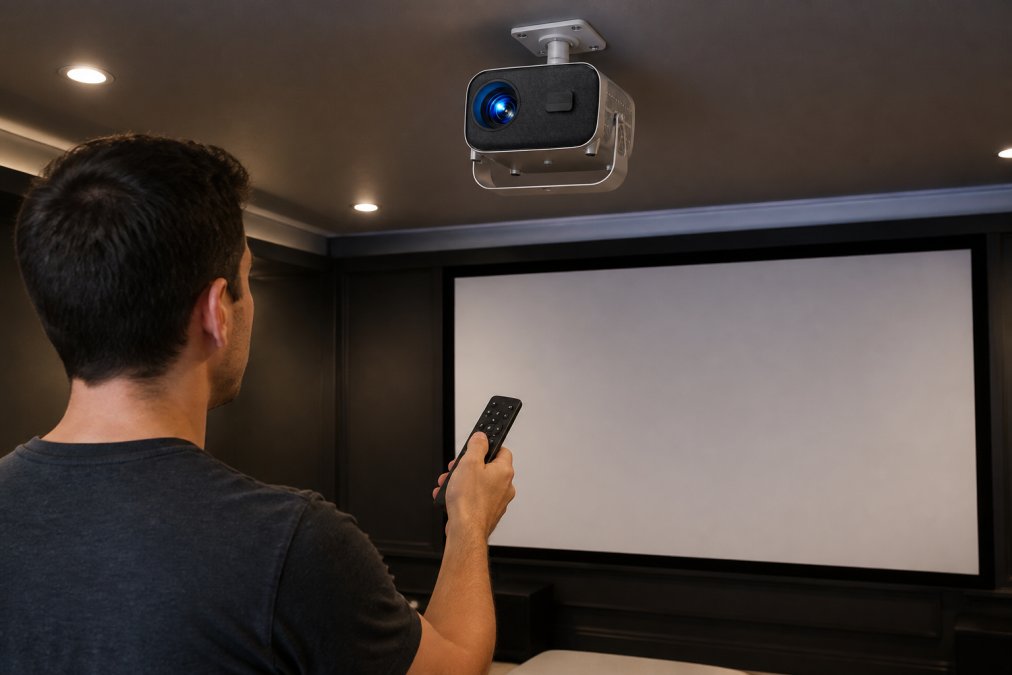
Attach the extension pole to the ceiling plate. This pole hangs down from the ceiling and holds your projector at the correct distance below the ceiling. Mount the projector to the extension pole or directly to the bracket, using the bolts provided with your hardware. Check your work with a level, the mounting bracket should be perfectly horizontal in both directions.
How to Hide Projector Cables in Your Ceiling
Plan your cable route before drilling. Mark the path from your projector location to the wall where your HDMI source and power outlet are located. Run cables through conduit or cable raceways to protect them from abrasion. Secure conduit to joists with clips every 18 inches to prevent sagging.
Use shielded, high-quality HDMI cables rated for in-wall use. Keep HDMI cables at least 12 inches away from electrical wiring when possible. Never run a projector's power cord through the same conduit as data cables, electrical interference degrades video and audio quality. If your projector has an external power supply, mount that supply near the ceiling or in a cabinet below, then route the low-voltage cable to the projector.
At the wall, use an in-wall rated power outlet and HDMI pass-through if your budget allows. If not, use cable clips and conduit to route cables down the wall to a baseboard outlet.
Ceiling Mount Projector Safety Tips and Weight Limits
Check your projector's weight in its documentation, add the weight of the mounting hardware and extension pole, then verify the total doesn't exceed your bracket's rating. Exceeding weight limits causes catastrophic failure.
Inspect your ceiling's structural integrity before installation. If you notice soft spots, water stains, or sagging, address those issues first. Use vibration dampening materials between the bracket and ceiling joists, rubber pads or isolation mounts reduce vibration transfer from the projector's cooling fan to the structure.
Ensure your electrical installation meets code. The outlet powering your projector should be on a dedicated circuit if possible. Use a surge protector rated for the projector's power requirements.
Test the installation thoroughly before finalizing. Turn the projector on and let it run for at least 30 minutes while watching for any movement, unusual sounds, or heat buildup.
Adjusting Your Projector Settings for a Flawless Image
Start with focus and zoom. Most projectors include auto-focus, but manual adjustment often yields sharper results. Zoom adjusts the image size without moving the projector.
Enable the invert image setting to flip your projection 180 degrees, essential for ceiling-mounted projectors. Without inversion, your image appears upside down.
Minimize keystone correction by mounting your projector as centered as possible. Aggressive keystone correction reduces brightness and sharpness. Set aspect ratio to match your content's native format, most modern content is 16:9 widescreen.
Adjust brightness and contrast based on your room's ambient light. A dark dedicated theater room can use lower brightness settings, preserving lamp life. Start at 50% and adjust based on what looks natural.
Choose color temperature based on your room's intended use. Warm mode (3000K) feels cozy; cool mode (6500K) feels crisp (cie.co.at). Test your settings with familiar content and adjust until it matches your expectations.
Common Mistakes to Avoid
The most frequent installation error is mounting without verifying structural support. Drywall alone cannot safely hold a projector. Always mount into joists or add structural reinforcement.
Ignoring throw distance requirements leads to poor image quality. Measure your space and verify the projector's throw distance before purchasing. Underestimating cable management creates a tangled mess that's difficult to troubleshoot later. Plan your cable route before drilling and label everything.
Forgetting vibration dampening causes unnecessary noise and image jitter. Rubber isolation pads are inexpensive and dramatically improve stability. Mounting off-center to avoid obstacles forces you to fight keystone correction every time you use the projector. Reposition your plan rather than accept poor image quality.
Selecting a projector before measuring your space leads to incompatibility. Measure first, then choose a projector that fits your space. JoeMo Promo's curated projector selection, including models like the CAIWEI Halo 300 Ultra-Bright Projector, is designed with standard mounting patterns and flexible throw distances to suit most home theater spaces.

Not testing the installation under load is risky. Turn the projector on, let it run, and watch for movement or stress.
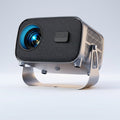
Installing a ceiling-mounted projector transforms your room into a dedicated theater, but only when done correctly. The structural foundation, cable management, and image calibration all matter equally. When you invest in a quality projector like those from JoeMo Promo, which feature automatic focus, keystone correction, and rotating stands for flexible mounting, proper installation ensures you'll enjoy years of reliable performance. Take your time with the structural work, plan your cables carefully, and adjust your settings methodically. The result is a seamless cinematic experience without visible clutter or image quality compromises. Shop the Collection to find the right projector for your space.
Frequently Asked Questions
Can you mount a projector on a ceiling without drilling into joists?
Yes, but only for lightweight projectors under 5 pounds. You can use toggle bolts or heavy-duty drywall anchors rated for your projector's weight, though they're less stable than joist mounting. For most projectors, drilling into ceiling joists is the safest approach. If you rent or cannot drill, consider a motorized ceiling mount or floor stand instead. Always verify your projector's weight and the anchor's weight capacity before installation.
How do I use a projector throw distance calculator for ceiling mounting?
Measure the distance from your projector to the screen or wall, then check your projector's throw ratio (usually found in the manual). Multiply the screen width by the throw ratio to find the required distance. For example, a projector with a 1.5:1 throw ratio needs to be 15 feet from a 10-foot-wide screen. Most projectors include online calculators on their manufacturer websites. Account for ceiling height when planning vertical positioning to avoid keystoning issues.
What's the best way to hide projector cables in the ceiling?
Route cables through the ceiling cavity alongside the mounting bracket before sealing. Use conduit or cable trays to protect wires and separate power cables from HDMI or data lines to prevent interference. Run cables perpendicular to ceiling joists when possible, and leave slack at both ends for adjustments. If in-ceiling routing isn't possible, use paintable cable covers or raceways that match your ceiling color. Always turn off power before running cables and avoid running cables near electrical wiring.
What safety precautions should I take when mounting a projector on the ceiling?
Always verify the ceiling can support your projector's weight plus the mounting bracket. Use a stud finder to locate joists and drill pilot holes to prevent slipping. Wear safety glasses when drilling overhead, and have someone spot you on the ladder. Check that all bolts and brackets are tightened before powering on. Ensure cables don't create trip hazards, and verify the projector won't overheat in an enclosed ceiling cavity. If your ceiling shows signs of damage or weakness, consult a structural professional before installation.
This article was written using GrandRanker