How to Set Up Home Theater Projector: Step-by-Step
Table of Contents
- What You'll Need Before Setup
- Choosing Projector Placement and Throw Distance
- Mounting and Positioning Your Projector
- Configuring Best Home Theater Audio Setup for Projectors
- Troubleshooting Projector Keystone and Focus Issues
- Home Cinema Room Design Ideas 2026
- Calibration and Image Settings
- Maintenance and Bulb Longevity
Last Updated: August 23, 2026
What You'll Need Before Setup
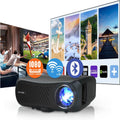
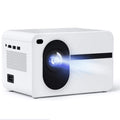
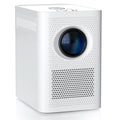
Setting up a home theater projector requires more than just the device itself. Start with your projector, the Nova 300 Smart Home Theater Projector offers native 1080p with 4K support, auto-focus, and keystone correction. You'll also need a projection screen or blank wall, mounting hardware, cables, and an audio system.

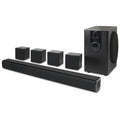
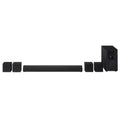
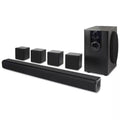
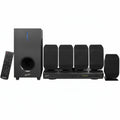
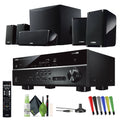
Audio matters more than most people realize. The iLive 5.1 Surround Sound System pairs easily via Bluetooth and delivers spatial depth that transforms a movie into an experience. For premium audio, the Yamaha YHT-4950U 5.1 Home Theater System provides 400W of output across five channels.
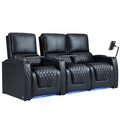
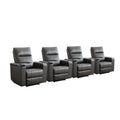
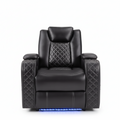
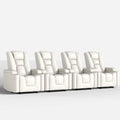
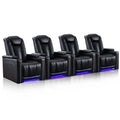
Don't overlook seating. Theater recliners like the Ridgeline Single Power Theater Recliner ensure comfort during extended viewing sessions. Finally, prepare your room with blackout curtains, acoustic treatment materials, and cable management solutions.
Choosing Projector Placement and Throw Distance
The biggest mistake people make is choosing placement before understanding throw distance. Get this wrong, and you'll either sit too close to a blurry image or waste room space.
Understanding throw distance and screen size
Throw distance is the space between your projector and the screen. It determines what size image you can project in your available space. A typical long-throw projector needs roughly 1.5 times the screen width in throw distance. For a 300-inch image (about 25 feet wide), you'd need roughly 37 feet of space. Short-throw and ultra-short-throw projectors compress this ratio, letting you project large images in smaller rooms.
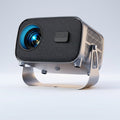
The Nova 300 Smart Home Theater Projector with its 360° rotating stand gives you flexibility. Before you buy, measure your room and determine your seating distance, then work backward. If your seating is 10 feet from where you want the screen, a short-throw projector makes sense. This simple calculation prevents expensive mistakes.
Ceiling mount vs. shelf placement
Ceiling mounting looks cleaner and is a common choice for dedicated media rooms. It hides cables and gives you precise angle control. Shelf placement, using a rotating stand, offers flexibility. You can adjust the projector's position without tools.
Choose ceiling mounting if you're committed to a permanent setup. Choose shelf placement if you value flexibility, want to avoid installation costs, or might move the projector later.
Mounting and Positioning Your Projector
If you're using a ceiling mount, mark your position carefully and use appropriate anchors for your ceiling type. For shelf placement, position your stand on a sturdy, level surface. The projector should be at or slightly above eye level when seated. This angle reduces neck strain and improves image quality by minimizing keystoning.
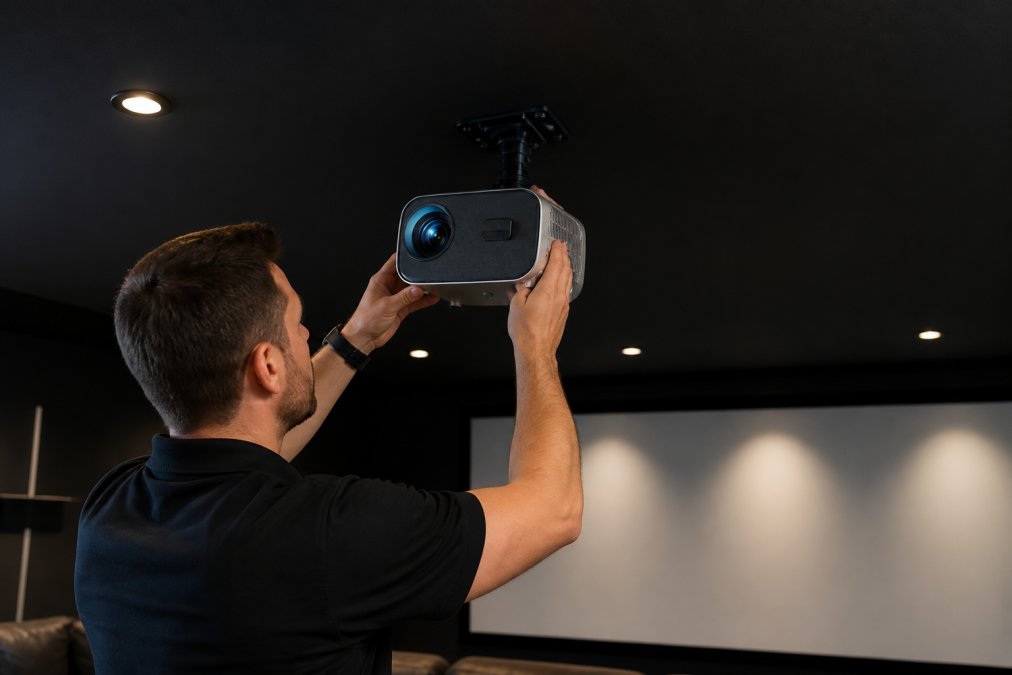
Ideally, the projector's lens should be at the vertical center of your screen, or slightly above it. Once mounted or positioned, don't move it. Stability is critical, any vibration transfers to the image, creating a shimmer that becomes noticeable during quiet scenes.
Configuring Best Home Theater Audio Setup for Projectors
Video gets the attention, but audio makes the experience. A projector without proper surround sound is incomplete.
Wireless speaker pairing and placement
The best home theater audio setup uses a 5.1 channel configuration: left and right front speakers, a center channel for dialogue, two surround speakers, and a subwoofer. The iLive 5.1 Surround Sound System pairs via Bluetooth with your projector, eliminating cable clutter.

Position your center channel directly below or above the screen. Front left and right speakers should flank the screen at roughly 22 to 30 degrees off-axis from your main seating position (aes.org). Surround speakers go on side or rear walls, elevated slightly above ear level. The subwoofer can live almost anywhere in the room, as bass frequencies are non-directional.
Cable management and connectivity
Even with wireless audio, you'll have cables: HDMI from your source device to the projector and power cables. Use cable channels or conduit to bundle wires along walls or ceilings. Label everything so you know what connects where.
For 4K content, use high-speed HDMI cables rated for your content type. The Nova 300 supports 4K content, so invest in cables that won't bottleneck your image quality.
Troubleshooting Projector Keystone and Focus Issues
Even with careful setup, you'll likely need to adjust keystone and focus.
Using automatic focus and keystone correction
Keystone correction adjusts for angled projection, fixing the trapezoidal distortion that occurs when a projector isn't perfectly perpendicular to the screen. Many modern projectors, including the Nova 300, offer automatic keystone correction using sensors to detect the screen and adjust automatically.
Focus is equally important. Auto-focus projectors like the Nova 300 detect the screen and lock in sharp focus automatically. If you need manual focus, use the adjustment ring on the projector's lens, starting with the image out of focus and slowly adjusting until it snaps into sharpness.
Common setup errors and fixes
The most common error is placing the projector too close to the screen, then trying to compensate with extreme keystone correction. The fix: move the projector back to its proper throw distance.
Blurry images usually mean the focus needs adjustment or the projector is too close. Adjust focus first. If keystone correction isn't working, verify that automatic keystone is enabled in your projector's menu.
Home Cinema Room Design Ideas 2026
A projector is only as good as the room it's in. The best home cinema rooms combine thoughtful design with acoustic and lighting control.
Lighting control and ambient light rejection
Ambient light is the enemy of projector image quality. Home theaters often use blackout curtains or motorized shades to eliminate external light. Heavy blackout curtains work well and can be a cost-effective solution. Mount them above the window frame so they cover the entire window when closed.
The screen itself matters. Projection screens with high gain (reflectivity) help combat ambient light better than painting a wall. A 1.3-gain screen reflects more light back to the viewer, improving brightness in less-than-ideal lighting conditions.
Seating distance and viewing angles
The ideal seating distance depends on screen size and your preference. Most people sit between 1.5 and 2.5 times the screen width away. For a 120-inch screen (10 feet wide), that's roughly 15 to 25 feet from the screen.
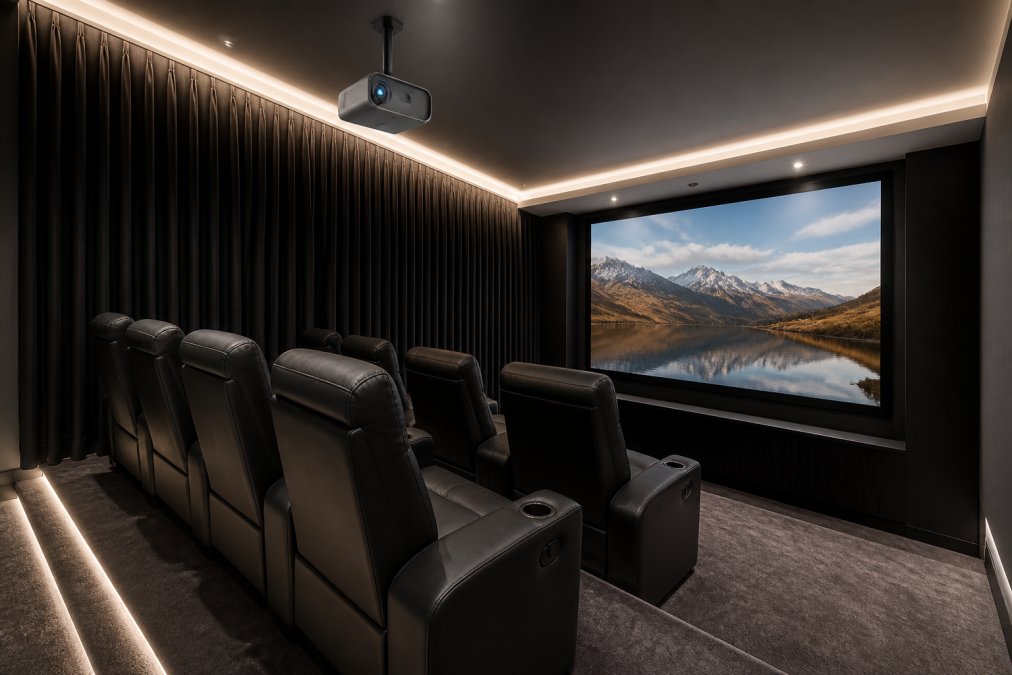
Arrange seating in a gentle arc facing the screen rather than in straight rows. Elevate back rows slightly so viewers in front don't block the view. Comfort seating like the Ridgeline Single Power Theater Recliner makes extended viewing sessions enjoyable.

Smart home automation integration
Modern home theaters can integrate with smart home systems, automating the setup process. Smart home hubs like Amazon Alexa or Google Home can control motorized shades, lighting, and some projectors. Set up scenes where "Movie Time" closes curtains, dims lights, and turns on the projector.
Smart bulbs let you create ambiance. Soft, warm lighting during setup, then fade to black when the movie starts. The Nova 300 includes WiFi and Bluetooth, making it compatible with most smart home ecosystems.
Calibration and Image Settings
Out of the box, projector images rarely look perfect. Start with color accuracy by setting color temperature to 6500K, which matches daylight and is the standard for film and television (smpte.org). Increase contrast until blacks look rich without losing detail in dark scenes.
Brightness should be set based on your room's ambient light. Most projectors let you adjust this in the menu. Start at 50% and adjust from there. Aspect ratio matters when choosing content, most movies are filmed in 2.35:1 or 1.85:1 widescreen format. Refresh rate affects motion smoothness, especially for sports and fast-action content. These adjustments take 15 minutes and make a visible difference.
Maintenance and Bulb Longevity
Projector bulbs last between 3,000 and 5,000 hours of use. Keep your projector clean, dust clogs the cooling fan, causing the bulb to overheat. Use compressed air to blow dust out of vents monthly.
Avoid moving the projector while it's on. Replace bulbs proactively when your projector's menu indicates the bulb is nearing end-of-life. Keep the lens clean using a lens cleaning kit designed for projectors. Store your projector in a cool, dry place if it won't be used for extended periods.
Setting up a home theater projector doesn't require professional help or advanced technical skills. With proper placement, quality audio, and attention to calibration, you can create a cinema-quality experience in any room. JoeMo Promo's curated selection of projectors, audio systems, and seating makes it simple to build a complete setup that works immediately. The Nova 300 Smart Home Theater Projector handles focus and keystone automatically, so you spend less time adjusting and more time enjoying movies. Pair it with the iLive 5.1 Surround Sound System for immersive audio, add comfortable seating like the Ridgeline recliner, and you've got everything needed for unforgettable viewing. Start with JoeMo Promo's collection and get your home theater up and running in an afternoon.
Frequently Asked Questions
Q: How do I calculate the correct throw distance for my projector?
A: Throw distance is the gap between your projector and the screen. Divide your desired screen width by the projector's throw ratio (found in the specs) to get the required distance. For example, a projector with a 1.2:1 throw ratio needs 12 feet of distance for a 100-inch screen. The Nova 300 Smart Home Theater Projector supports both short-throw and long-throw setups, making it flexible for rooms of any size. Use a projector throw distance calculator tool to verify measurements before mounting.
Q: Can I set up a home theater projector on my own, or do I need professional installation?
A: Most modern projectors are designed for DIY setup. The Nova 300 includes automatic focus and keystone correction, which means you can position it, power it on, and the image locks in sharp in seconds, no manual calibration required. If you're mounting to a ceiling, you'll need basic tools and wall anchors rated for your projector's weight. For wireless audio pairing and cable routing, follow the included instructions. Professional installation is optional but not necessary for standard setups.
Q: What is the 4-6-8 rule for home theater seating and screen size?
A: The 4-6-8 rule guides seating distance based on screen size. Sit 1.5 times the screen width away for a 4K projector (best viewing angle), 1 to 1.5 times for 1080p, and no closer than 1 time the screen width. For a 100-inch screen, sit between 100 and 150 inches away. This prevents pixelation and gives your eyes a comfortable viewing angle. Adjust based on your room's depth and personal preference, some viewers prefer closer seating for immersion.
Q: How do I connect my home theater projector to wireless speakers for surround sound?
A: Most projectors connect to audio systems via Bluetooth or HDMI. The Nova 300 has built-in Bluetooth, so you can pair wireless speakers directly without a separate receiver. The iLive 5.1 Surround Sound System pairs in seconds, just enable Bluetooth on both devices and select the speaker from your projector's menu. For best results, place surround speakers at ear level on the sides and slightly behind seating, and the subwoofer in a corner for bass response. Test the connection before your first movie night.
This article was written using GrandRanker