Turn Any Room Into a Private Theater: A Setup Guide
Table of Contents
- Step 1: Choose the Right Space and Measure for Viewing Distance
- Step 2: Select Best Home Theater Projectors for Small Rooms
- Step 3: Plan Acoustic Treatment for Home Theaters
- Step 4: Install Surround Sound Speakers and Position Your Subwoofer
- Step 5: Arrange Seating Using a Home Theater Seating Layout Guide
- Step 6: Control Lighting and Set Up Cable Management
- Step 7: Calibrate Your System and Test for Immersive Cinema
- Frequently Asked Questions
Last Updated: October 1, 2026
Step 1: Choose the Right Space and Measure for Viewing Distance
The first step to turn any room into a private theater is picking the right space. Not every room works equally well. Size, shape, and existing light all matter.
Start by measuring your room's depth. This determines how far you'll sit from the screen and what projector size makes sense. The general rule is simple: multiply your seating distance by 1.5 to find your ideal screen width.
For example, if you sit 12 feet from the wall, aim for a 200-inch screen (12 × 1.5 = 18 feet wide ÷ 0.09 = roughly 200 inches). The Society of Motion Picture and Television Engineers guidelines recommend this ratio for comfortable viewing without eye strain.
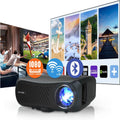
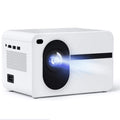
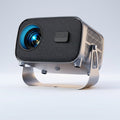
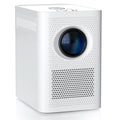
Small rooms pose a real challenge. Many people worry they can't fit a proper theater setup in tight spaces. The good news: modern projectors like the Nova 300 Smart Home Theater Projector solve this problem. It projects up to a 300-inch image, so even a 12-foot-deep room works perfectly. The rotating 360° stand lets you mount it on a wall, ceiling, or even a bookshelf.

Check your ceiling height next. You need at least 8 feet of clearance if you're mounting a projector overhead. Wall mounting needs less height but takes up floor space. Pick whichever fits your layout.
Finally, assess existing light. Windows, lamps, and reflective surfaces all wash out a projector image. Rooms with heavy curtains or no windows are ideal. If your space gets lots of natural light, plan for motorized shades or blackout curtains later.
Step 2: Select Best Home Theater Projectors for Small Rooms
Choosing the right projector makes or breaks your setup. The best home theater projectors for small rooms balance brightness, image quality, and ease of use.
Look for native 1080p resolution with 4K support. This gives you sharp detail for streaming and gaming without overpaying for pure 4K specs you may not need. The Nova 300 delivers exactly this, offering crisp 1080p native resolution with 4K upscaling support.
Brightness matters more than people think. Measured in lumens, brightness determines how clear your image looks in rooms with ambient light. Aim for at least 2,500 lumens if your space isn't perfectly dark. This ensures your picture stays vibrant even when you're not in complete blackout mode.
Auto-focus and keystone correction are game-changers. Manual focus and alignment waste time and frustrate users. Look for projectors that lock focus automatically and correct image distortion at the push of a button. This means no tinkering every time you want to watch something.
Connectivity is essential. Built-in WiFi and Bluetooth let you stream directly from phones, tablets, or smart devices without cables cluttering your space. The Nova 300 includes both, so you can pair wireless speakers and cast content instantly.
Consider throw distance. This is how far the projector sits from the wall. Short-throw projectors work in tight spaces. Standard projectors need more distance but often deliver brighter, sharper images. Measure your setup before buying.
Budget matters. The Nova 300 at $529.99 offers quality and value.
Step 3: Plan Acoustic Treatment for Home Theaters
Sound quality separates a mediocre setup from a true theater experience. Acoustic treatment for home theaters doesn't mean expensive soundproofing. It means controlling reflections and absorbing excess noise.
Start with your room's surfaces. Hard walls, floors, and ceilings bounce sound around, creating echoes and muddiness. Soft materials absorb sound. Carpets, curtains, couches, and rugs all help. If your room is mostly hard surfaces, add fabric elements strategically.
Bass traps are your friend. Low frequencies pool in room corners and create boomy, uneven bass. Bass traps are thick, porous materials placed in corners to absorb these frequencies. You can buy commercial traps or build simple ones with rockwool and fabric.
Sound panels on walls reduce reflections. Place them behind your seating area and on side walls where sound bounces most. You don't need to cover every wall. Strategic placement works just as well.
Measure your room's acoustics if possible.
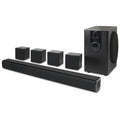
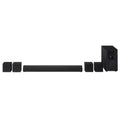
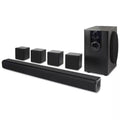
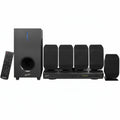
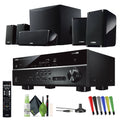
The iLive 5.1 Surround Sound System and Yamaha YHT-4950U both deliver room-filling audio. Good speakers matter for most home theaters.

Step 4: Install Surround Sound Speakers and Position Your Subwoofer
A 5.1 surround sound system transforms your room into an immersive cinema. Five speakers plus a subwoofer create spatial audio that pulls you into the action.
Here's how to position them:
Front left and right speakers flank your screen. Place them at ear level or slightly above. Angle them toward your seating area. These handle most dialogue and music.
Center channel speaker sits directly below or above your screen. This is crucial. It anchors dialogue to the screen, so actors' voices come from their mouths, not from random speakers. Don't skip this.
Surround speakers mount on side or rear walls, slightly above ear level. They create ambient sound and directional effects. Space them evenly around your seating area.
Nova 300 Smart Home Theater Projector →
Subwoofer placement matters more than most people realize. Bass travels in waves that interact with room boundaries. Place your sub in a corner first and listen. If bass sounds boomy or uneven, move it to the opposite corner or the center of a wall. Experiment until low frequencies feel balanced and tight, not overwhelming.
The iLive 5.1 Surround Sound System simplifies this. It pairs easily via Bluetooth with your TV, phone, or streaming box. Plug-and-play setup means no receiver, no tangled cables, no technical headaches. The Yamaha YHT-4950U offers more power at 400W total output across all channels if you want deeper, richer sound.
Wireless speakers eliminate cable clutter. Both systems support Bluetooth, so you can place speakers freely without running wires through walls.
Test your setup by watching a movie with good surround mixing. You should hear effects moving around the room smoothly. If something sounds off, adjust speaker angles or subwoofer position slightly.
Step 5: Arrange Seating Using a Home Theater Seating Layout Guide
Seating determines comfort and viewing angles. Poor seating ruins even the best audio-visual equipment.
The viewing distance rule applies here too. Sit 1.5 times the screen width away for comfortable viewing. At a 200-inch screen, that's roughly 25 feet back. Closer seating creates eye strain. Farther seating makes details disappear.
Arrange seats in stadium style, with back rows higher than front rows. This prevents head blocking and gives everyone a clear view. Even a 6-inch elevation difference helps dramatically.
Height matters. Viewers should look slightly up at the screen, not down. Ideal viewing angle is 15-20 degrees above horizontal. If you're sitting too low, you'll strain your neck.
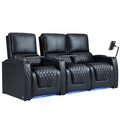
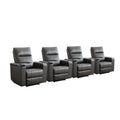
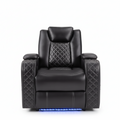
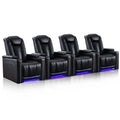
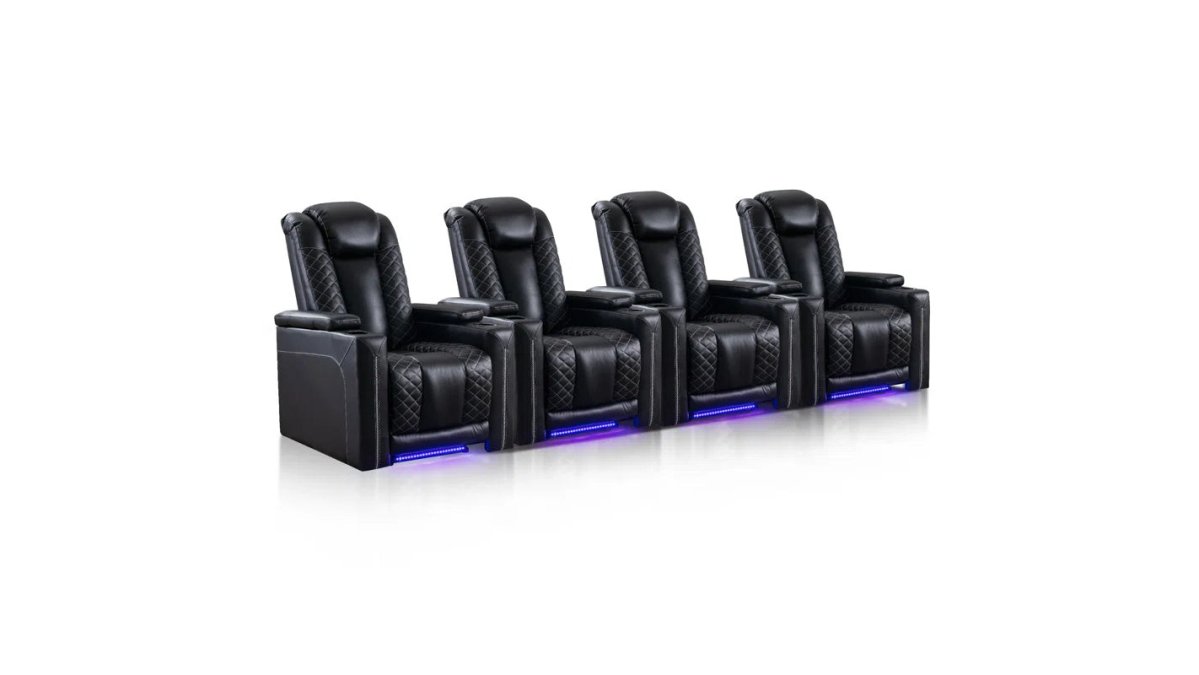
The Ridgeline Single Power Theater Recliner ($1,519.99) is built for this. It features power recline, faux leather upholstery, and a built-in cup holder. The seat angle supports proper posture for hours of comfortable viewing. You can use one as a single upgrade or match multiple units for a full row.

Space seats 18-24 inches apart for armrest comfort. Cramped seating kills the experience. Leave walking space behind rows for easy access.
Consider room traffic patterns. Don't block doorways or walkways with seating. Plan your layout so people can move freely without climbing over recliners.
Test your layout before buying. Sit where seats will go and watch a movie. Adjust positions if viewing angles feel off. This simple step prevents expensive mistakes.
Step 6: Control Lighting and Set Up Cable Management
Lighting control separates amateur setups from true home theaters. Your projector image only looks good in darkness or near-darkness.
Motorized shades are the gold standard. They block outside light completely and can be programmed to close automatically when movies start. Blackout curtains work too if motorized shades exceed your budget. They're cheaper and still effective.
Dimmer switches on overhead lights give you flexibility. Full darkness works for movies. Dim lighting works for gaming or casual viewing. Install dimmers on all lights in your theater space.
Accent lighting adds theater atmosphere without washing out your image. LED strips behind the screen or along baseboards create ambiance without interfering with projection.
Cable management prevents your beautiful setup from looking like a tangled mess. Run cables through walls, under carpets, or along baseboards. Hide them completely if possible.
Label every cable at both ends.
Step 7: Calibrate Your System and Test for Immersive Cinema
Calibration transforms a good setup into a truly immersive cinema experience. It's the final step that makes everything work together perfectly.
Don't over-complicate calibration.
| Setup Component | Key Consideration | Why It Matters |
|---|---|---|
| Projector | Native 1080p with 4K support, 2,500+ lumens | Sharp images, works in various lighting |
| Surround Sound | 5.1 system with wireless connectivity | Immersive audio without cable clutter |
| Seating | Stadium-style arrangement, proper viewing distance | Comfort and clear sightlines for all viewers |
| Lighting | Motorized shades or blackout curtains | Protects image quality and creates theater atmosphere |
| Calibration | Auto-focus, room correction, level balancing | Optimizes audio and visual performance |
Frequently Asked Questions
Can I turn any room into a private theater for audio visual equipment?
Yes, most rooms can be converted. The key is ensuring adequate viewing distance from your screen, typically 1.5 to 2.5 times the screen width. Small rooms work well with compact projectors like the Nova 300, which delivers a 300-inch image and fits on a rotating stand. Avoid rooms with excessive windows or reflective surfaces, as these interfere with picture quality and sound clarity.
How much does it cost to turn a room into a home theater?
Costs vary widely based on quality and features. The Nova 300 Smart Home Theater Projector is $529.99, the iLive 5.1 Surround Sound System is $519.99, and the Ridgeline Single Power Theater Recliner is $1,519.99. Professional acoustic treatment and motorized shades add to the total, but many homeowners begin with core equipment and upgrade over time.
What audio visual equipment is essential for a home theater?
You need a projector, surround sound system, screen or projection surface, seating, and lighting control. A projector with auto-focus and keystone correction simplifies setup. A 5.1 surround sound system creates immersive audio. Motorized shades or blackout curtains control ambient light. Start with these core elements and add features like smart home integration later.
Do I need professional installation to turn any room into a private theater?
No. Modern equipment like the Nova 300 projector with its 360° rotating stand and automatic focus allows DIY setup. Wireless speakers eliminate complex wiring.