Alternatives to Wall Mounted Projector Screens
Table of Contents
- Why Skip a Traditional Wall Mounted Projector Screen
- Quick Comparison: Projector Screen Alternatives at a Glance
- Projecting Onto a White Wall: The Simplest Starting Point
- Projector Screen Paint: Turning Any Wall Into a Screen
- DIY Projector Screen: Fabric, Frames, and Budget Builds
- Portable Projector Screen Options for Flexible Rooms
- Matching Your Projector to the Surface You Choose
- Frequently Asked Questions
Last Updated: October 6, 2026
Why Skip a Traditional Wall Mounted Projector Screen
Wall mounted projector screens are not the only way to get a great picture, and for plenty of rooms they are not even the best option.
The biggest reason people look past wall mounted projector screens is commitment. A fixed screen claims a wall permanently.
Cost matters too. A dedicated screen adds a line to the budget before you have bought a single cable, and installation can mean hiring help. The alternatives below trade a little polish for a lot of freedom.
Quick Comparison: Projector Screen Alternatives at a Glance
Here is how the main options stack up before we get into the details:
| Option | Setup Effort | Best For | Main Trade-Off |
|---|---|---|---|
| White wall | None | Quick, low-cost start | Wall texture and marks show |
| Projection paint | One weekend | Permanent, smooth finish | Needs careful surface prep |
| DIY fabric screen | An afternoon | Budget builds | Wrinkles and tension issues |
| Portable screen | Minutes | Renters, outdoor nights | Storage and stability |
For the shortest path to a watchable picture, start with the wall you already have. For something that travels or packs away, a portable screen wins.
Projecting Onto a White Wall: The Simplest Starting Point
Projecting onto a white wall is the fastest way to test whether a projector suits your room, because it needs no hardware at all. A flat, light-colored wall can serve as a projection surface the day your projector arrives.
The catch is the wall itself. Texture, scuffs, and paint sheen all show up in the image. A glossy finish reflects light unevenly, which washes out contrast. A matte, off-white wall performs best, and a smooth surface beats a perfectly white one every time.
For a first setup, this costs nothing and reveals how much ambient light your room lets in.
Projector Screen Paint: Turning Any Wall Into a Screen
Projector screen paint is a coating applied directly to a wall to create a dedicated projection surface without mounting anything.
Surface preparation decides the result. Fill and sand any dents first, then apply even coats. A roller leaves slight texture; a sprayer gives a flatter finish. Let each coat dry fully before judging the color.
One honest limitation: paint is permanent. Once it is on the wall, it is not coming off without repainting the whole room. Renters should skip this one.
DIY Projector Screen: Fabric, Frames, and Budget Builds
A DIY projector screen is a homemade projection surface built from fabric or a panel stretched over a frame. It is the cheapest route to a large image, and the trick is picking material that stays flat and building the frame to the right size.
Start With Your Aspect Ratio and Screen Size
Before you buy fabric, decide your aspect ratio. Most home projectors output 16:9, the shape of most streaming content and Blu-ray discs: a 100-inch diagonal measures roughly 87 inches wide by 49 inches tall, and 120 inches diagonal is about 105 by 59 inches.
Measure your throw distance before you cut anything. Most projectors list a throw ratio, which is throw distance divided by image width. A 1.5:1 ratio needs about 1.5 feet of distance per foot of image width, so a 105-inch-wide image needs roughly 13 feet of throw.
Bedsheets, Blackout Fabric, and Woven Cloth
A white bedsheet is the classic first attempt and works reasonably well for casual viewing, but every fold catches light and shows as a shadow across the picture.
Blackout fabric performs better because it blocks light from behind and hangs with fewer creases. A white blackout curtain, woven cloth, or vinyl or PVC can all serve as screen material.
- Bedsheet: free, easy, wrinkles badly
- Blackout fabric: smoother image, needs a frame or clips
- Woven cloth: good texture, watch for seams
- Vinyl or PVC: very smooth, can reflect hotspots
Avoid glossy or satin finishes. A shiny surface creates a hotspot, a bright patch in the center where the projector beam reflects straight back at the viewer.
Stretching Material Across a Frame
The single biggest upgrade for any DIY screen is tension.
Build the frame from 1x3 or 1x4 lumber cut to your screen dimensions, with a center brace on anything wider than about 60 inches to stop bowing.
For a removable version, wrap the fabric around the frame and secure it with binder clips or hook-and-loop straps instead of staples, so you can swap material or store the screen flat.
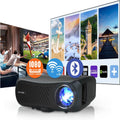
Nova 300 Smart Home Theater Projector →
Material Care, Storage, and Safe Indoor Use
Fabric screens collect dust and can yellow over time, especially near kitchens or with sun exposure. Vacuum with a brush attachment on low suction rather than wiping, which can stretch the weave.
Store fabric screens rolled rather than folded whenever possible; folds set creases that take days to relax out, while a roll keeps the surface smooth.
For indoor use, choose materials labeled flame-resistant or treated with a flame retardant, and keep the screen clear of heat sources like space heaters, fireplaces, and halogen lamps.
Portable Projector Screen Options for Flexible Rooms
A portable projector screen is a freestanding or roll-up screen you can set up and take down in minutes, making it the best fit for renters and anyone who watches outdoors.
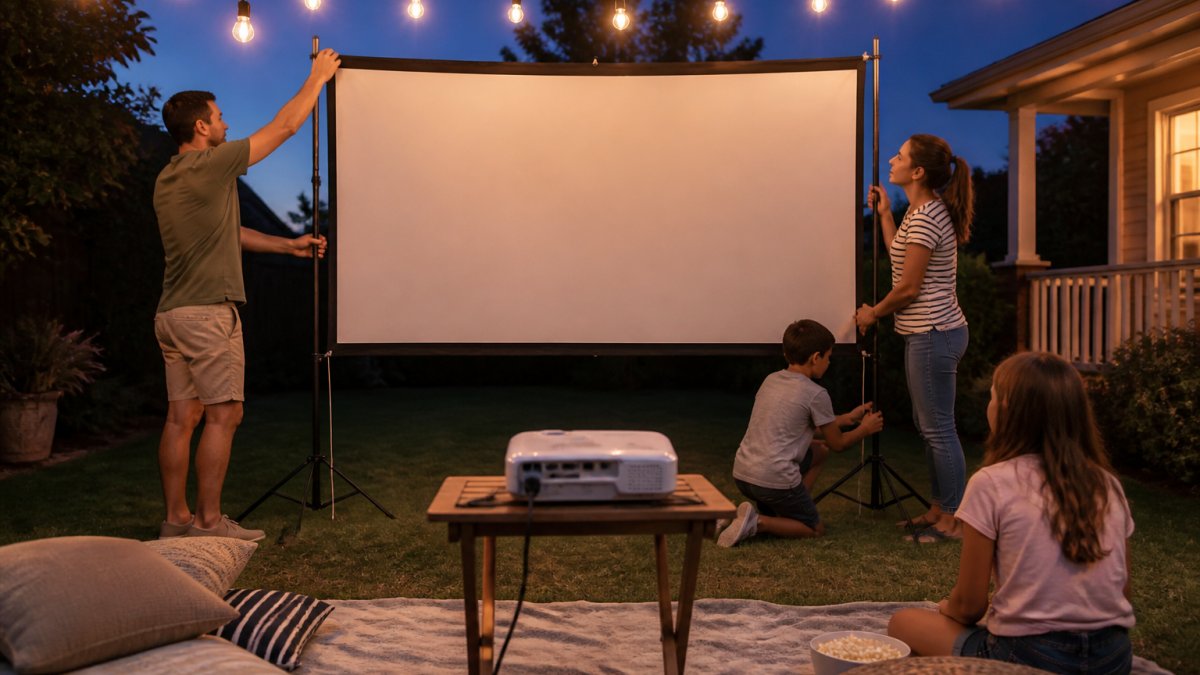
Portable screens come in a few styles. Tripod screens stand on their own legs. Roll-up screens pull up from a base. Inflatable screens suit big outdoor gatherings.
Indoor vs. Outdoor Setup and Ambient Light
Ambient light is the enemy of any projection surface, and it matters more outdoors. Indoors, close the blinds and dim the lamps. Outdoors, wait for full dark and point the screen away from streetlights.
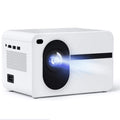
Brightness helps here. A projector with higher light output holds up better when some light is present. Our CAIWEI Halo 300 Ultra-Bright Projector is built for exactly this, with 10,000 lumens and native 1080p for a sharp picture even with some room light.

Matching Your Projector to the Surface You Choose
The surface and the projector have to work together, and matching them is where most setups succeed or fail. A bright projector on a rough wall still looks soft, and a dim projector on a great screen still looks washed out.
Start With Room Lighting, Not Screen Size
Ambient light is the single biggest factor in how a surface performs. A screen that looks great in a dark room can look gray and flat in a bright one, so judge your room honestly before picking a surface.
- Dark room (lights off, blinds closed): almost any surface works, including a plain white wall. A projector in the 1,500 to 2,500 lumen range is usually enough for a 100-inch image.
- Dim room (some lamp light, blinds partly closed): a matte screen or projection paint helps, and you want a projector closer to 3,000 lumens or more.
- Bright room (daylight, lights on): you need a high-output projector, generally 4,000 lumens and up, plus a screen that rejects ambient light rather than reflecting it. A bare white wall will look washed out here.
- Outdoors after dark: brightness matters less than contrast, but you still want 3,000 lumens or more to fight streetlights and porch lights.
A common mistake is buying a big screen first and a dim projector second, then wondering why the image looks dull. Match the projector's light output to the room's light level before committing to a screen size.
Throw Distance and Screen Size
Throw distance is the gap between the lens and the screen, and it decides how large an image you can get. Most projectors publish a throw ratio, which is throw distance divided by image width: a 1.5:1 ratio needs about 1.5 feet per foot of image width, so a 100-inch-wide image needs roughly 12.5 feet of throw.
Measure your room's usable depth first, then work backward to the largest screen that fits. If the projector cannot focus at your distance, no screen material will fix it.
Resolution, Brightness, and Surface Texture
Surface texture and projector resolution interact. A 1080p projector on a rough wall loses fine detail because the texture scatters light. A 4K projector on the same wall wastes its extra pixels. Smooth surfaces, like stretched fabric or projection paint, let a higher-resolution projector actually show its detail.
Brightness works the same way: a bright projector on a wrinkled sheet still shows every crease, because extra light makes shadows more visible, not less. Fix the surface before upgrading the projector.
Pairing by Surface
Here is how we would pair them:
- White wall or bedsheet: pair with a brighter projector to overcome texture and wrinkles, and accept that contrast will be soft in any light.
- Projection paint: works with most projectors, rewards a smooth finish, and holds up best in a dim room.
- Stretched DIY screen: lets a mid-range projector look its best, especially in a dark room.
- Portable screen: match screen size to your throw distance and room, and choose a matte surface to avoid hotspots.
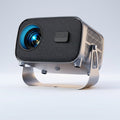
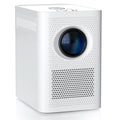
For a flexible setup, the Wanderlight Portable Smart Projector pairs well with a roll-up screen, since both pack away and move room to room. For the biggest image, the Nova 300 Smart Home Theater Projector turns any surface into a 300-inch display, with auto-focus and keystone correction that lock in a sharp picture in seconds.


A Quick Chooser by Room and Use Case
- Apartment or rental: portable roll-up screen plus a 3,000-lumen projector. No drilling, packs into a closet.
- Permanent home theater: projection paint or a stretched DIY screen plus a 2,000 to 3,000 lumen projector in a dark room.
- Classroom or meeting room: matte fixed or retractable screen plus a 4,000-lumen projector to fight overhead lights.
- Outdoor movie night: inflatable or tripod screen plus a 3,000-lumen-plus projector, set up after full dark and pointed away from streetlights.
Frequently Asked Questions
What can I use instead of a projector screen?
You can project onto a plain white wall, apply projector screen paint, hang blackout fabric or a bedsheet, or use a portable projector screen. A smooth, flat surface matters more than the material itself. For a permanent setup, paint is low-cost and blends into the room. For flexibility, a portable screen rolls up and moves between rooms or outdoors. The Nova 300 Smart Home Theater Projector works with any of these surfaces, thanks to auto-focus and keystone correction.
Is a white wall just as good as a projector screen?
A smooth white wall can look close to a basic screen in a dark room, but it usually loses some brightness and contrast. Walls have texture and imperfections that soften the image, and most white paint reflects light unevenly. A dedicated screen material or projector screen paint can improve gain and color accuracy. If your wall is flat and you control ambient light, projecting onto a white wall is a solid, free starting point.
Is projector screen paint better than a regular white wall?
Projector screen paint is formulated to reflect light more evenly and boost contrast compared to standard wall paint. It can reduce hot spots and improve image quality, especially in rooms with some ambient light. The trade-off is cost and surface preparation: you need a smooth, clean wall for the best result. For a permanent, budget-friendly upgrade over a bare white wall, projector screen paint is worth trying.
Can a projector work on a sheet or curtain?
Yes, a white bedsheet or blackout fabric can work as a DIY projector screen. The key is stretching it tight to avoid wrinkles, which distort the image. Blackout fabric blocks light from behind and improves contrast. A white blackout curtain hung flat can also serve as a screen. Just remember that woven cloth texture can soften detail, so smoother materials generally perform better.