Wireless Surround Sound Setup Without Drilling Walls
Table of Contents
- What You'll Need Before You Start
- Step 1: Choose the Right Wireless Surround Sound Setup for Your Space
- Step 2: Position Speakers Without Wall Mounts
- Step 3: Manage Cables Without Drilling
- Step 4: Connect and Calibrate Your System
- How to Fix Bluetooth Audio Lag
- Common Mistakes to Avoid
- Conclusion
- Frequently Asked Questions
Last Updated: September 17, 2026
What You'll Need Before You Start
You can build a full surround sound experience without drilling a single hole, just choose gear that connects wirelessly and mount it with renter-friendly hardware.
Here's what to gather before you begin:
- A wireless surround sound system or wireless rear speaker kit
- Speaker stands or stable furniture for rear channels
- Adhesive cable clips or paintable raceways
- A home theater receiver with wireless capability (if your system needs one)
- A phone with a sound level meter app for basic room calibration
- Zip ties or velcro straps for cable bundling
Step 1: Choose the Right Wireless Surround Sound Setup for Your Space
Match the system to your room size and tolerance for setup work. A 5.1 system with wireless rear speakers suits most apartments; larger rooms may need 7.1 or a soundbar with detachable satellites. Ask three questions: How far are the rear speakers from the main unit? Are there power outlets near your seating area? Will neighbors complain about deep bass?
Best Wireless Surround Sound Systems for Apartments
Small rooms reward compact systems: satellite speakers that mount on stands and a subwoofer with adjustable output.
| System | Price | Best For | Key Feature |
|---|---|---|---|
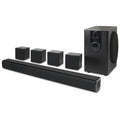
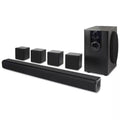
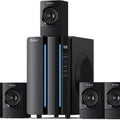
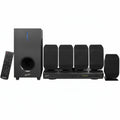
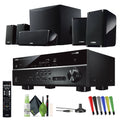
| iLive 5.1 | $519.99 | Clutter-free apartments | Plug-and-play Bluetooth |
| JoeMo 800W | $198.24 | Budget setups | Built-in EQ modes |
Step 2: Position Speakers Without Wall Mounts
Placement decides whether your system sounds immersive or muddy. Skip wall mounts and use these alternatives:
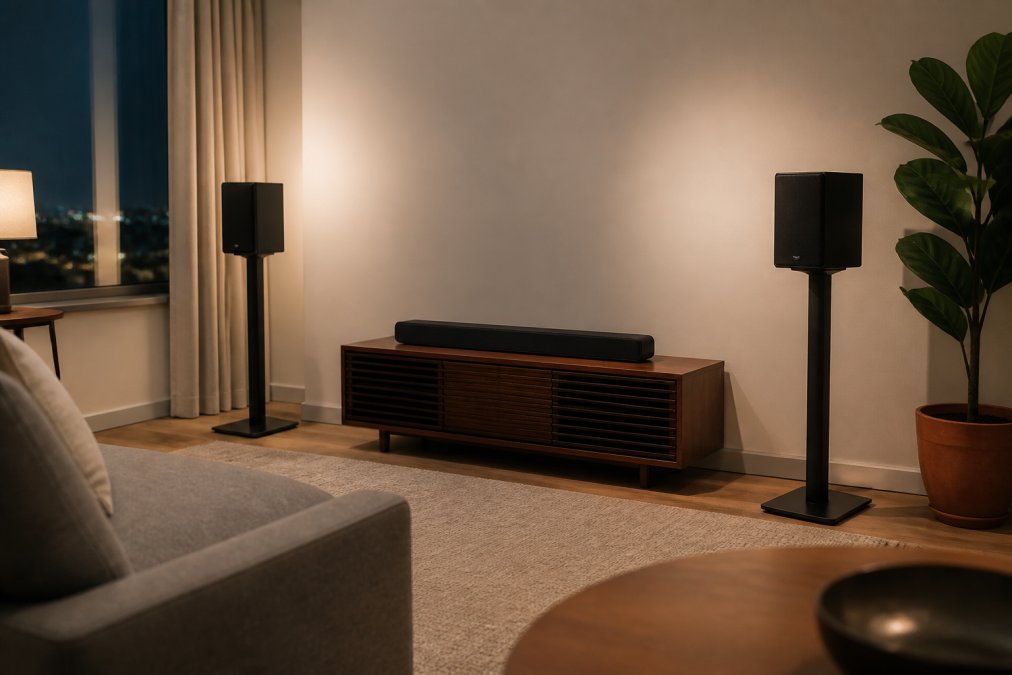
- Speaker stands at ear height behind the couch
- Bookshelves or side tables for satellite speakers
- Angled foam pads to tilt speakers toward the listening spot
- Floor-standing speakers for the front left and right channels
Speaker Placement for Optimal Soundstage
Treat your listening position as the center of a circle and place every speaker on its edge. In a 5.1 layout, the front left and right sit 22 to 30 degrees off-center, the surrounds sit 90 to 110 degrees to your sides or slightly behind, and the subwoofer goes wherever it sounds best, not automatically in a corner.
Alternative Mounting Solutions for Height Speakers
Ceiling mounts are traditional for height channels, but renters have three substitutes:
- Up-firing modules that sit on top of your front left and right speakers and bounce sound off a flat ceiling. They work best with ceilings between 8 and 12 feet and lose effectiveness with vaulted or heavily textured ceilings.
- Front height speakers placed high on a media console or tall bookshelf, angled down toward the seat. This is not true overhead audio, but it widens the front soundstage noticeably.
- Wooden posts or tall plant stands positioned just behind the couch, with small satellites aimed upward. This is the closest renter-friendly approximation of a ceiling mount, and it avoids any adhesive on the wall.
Acoustic Impact of Non-Traditional Mounts
A speaker bolted to a stud transfers almost no vibration into the structure. One sitting on a hollow bookshelf, thin side table, or wooden post does the opposite, it couples with the furniture and colors the sound, often as a boomy mid-bass hum that makes dialogue chesty.
Three fixes work in most rooms:
- Isolation pads under each speaker. Closed-cell foam or silicone hemispheres decouple the cabinet from the surface.
- Mass loading. A heavy stand or a shelf weighed down with books absorbs resonance better than a lightweight table.
- Felt or rubber feet on wooden posts. Cheap, removable, and effective at killing the worst of the rattle.
Furniture-Based Speaker Positioning
Bookshelves are the most common renter substitute for wall mounts, but they come with rules. Pull the speaker forward so its front baffle sits flush with or slightly ahead of the shelf edge, recessed speakers reflect off the shelf sides and blur the stereo image. Leave a few inches behind a ported speaker's rear port.
Rental-Friendly Adhesive Testing
Most guides say "don't trust adhesive mounts" and stop there. A more useful approach is to test the adhesive before trusting it with a speaker.
- Clean a hidden patch of wall with isopropyl alcohol and let it dry.
- Apply the strip and press firmly for the full recommended time.
- Hang a weight equal to or slightly heavier than the speaker, a filled water bottle works well.
- Wait 48 hours. If the strip holds, the wall and the strip are compatible.
Wireless Rear Speaker Kits for Home Theater
A wireless rear speaker kit solves the hardest part of surround sound: getting signal to the back of the room. Kits include a transmitter that plugs into your receiver and a receiver unit that powers the rear speakers.
Step 3: Manage Cables Without Drilling
Cable concealment is where most renter setups fall apart. You still need power to each speaker, but you can hide every wire.
Try these renter-friendly options:
- Paintable raceways that stick to the wall and match your paint color
- Baseboard channels that tuck wire along the floor trim
- Flat speaker wire thin enough to run under a rug
- Adhesive cable clips for short runs behind furniture
Using Paintable Raceways and Cable Channels
Raceways are the most forgiving option because they hide the wire completely and can be painted to match your wall. The trade-off is bulk: a typical raceway is half an inch to an inch wide, so it reads as a visible line even after painting.
iLive 5.1 Surround Sound System →
Installation is straightforward:
- Wipe the wall with a damp cloth and let it dry fully. Adhesive backing fails on dusty or greasy surfaces.
- Plan the full run before peeling any backing. Corners need miter cuts or corner pieces.
- Press each section firmly for the full recommended time, usually 30 seconds per foot.
- Wait 24 hours before painting or loading the channel with cable.
- Paint with the same sheen as your wall. Flat paint hides the raceway best; gloss highlights every seam.
Flat Speaker Wire Installation Step by Step
Flat speaker wire is the cleanest renter solution because it disappears under carpet, behind baseboards, and along door frames. It is adhesive-backed, paintable, and thin enough that most people never notice it.
A practical installation sequence:
- Measure the full run from the receiver or amplifier to each speaker, adding a foot of slack at both ends.
- Clean the surface with isopropyl alcohol. Adhesive flat wire fails on dusty baseboards faster than on walls.
- Peel and press in short sections, working from one end to the other. Press firmly with a credit card or a roller to seat the adhesive.
- Cross doorways at the top of the frame, not the bottom. The top of the frame is out of sight and out of foot traffic.
- Paint over the wire with two thin coats after the adhesive has cured for at least 24 hours. Match the wall or trim color.
- Terminate the ends with the connectors included in the kit, then test continuity with a multimeter or a simple battery-and-speaker pop test before closing up the run.
Managing Cable Clutter on Hardwood Floors
Hardwood and laminate are the hardest surfaces for cable management because you cannot tuck wire under carpet. Three approaches work:
- Floor cord covers, rubber or PVC channels that sit on top of the floor and hold the wire flat. They are visible but tidy, and they protect the cable from foot traffic. Look for a low-profile profile under half an inch tall so nobody trips.
- Area rugs, a runner along the path from the front of the room to the rear speakers hides flat wire completely. Use rug tape at the edges so the rug does not slide.
- Perimeter routing, run the wire along the baseboard, behind furniture legs, and under the couch rather than across open floor. This is slower to plan but produces the cleanest result.
Step 4: Connect and Calibrate Your System
Calibration turns a pile of speakers into a real soundstage. Connect every component, then run your receiver's auto-calibration if it has one.
Manual calibration steps:
- Set your listening position as the reference point
- Adjust each speaker's distance setting in the receiver menu
- Balance volume levels using a sound meter app
- Set the subwoofer crossover around 80 Hz as a starting point
- Play a familiar movie scene and fine-tune by ear
How to Fix Bluetooth Audio Lag
Bluetooth audio lag shows up as lip-sync errors: mouths move before you hear the words. Bluetooth compresses and transmits audio in packets, which adds delay.
The fixes, in order of effectiveness:
- Switch to a system with aptX Low Latency or a dedicated wireless transmitter
- Use your TV's audio delay setting to sync picture and sound
- Move the source device closer to the speakers
- Turn off other Bluetooth devices competing for the connection
Common Mistakes to Avoid
The biggest mistake is buying speakers before measuring your room. Oversized systems in small spaces create boomy bass and muddy dialogue.
Other pitfalls to skip:
- Placing the subwoofer in a corner, which doubles the bass boom
- Running rear speakers at the same volume as the front channels
- Ignoring adhesive weight limits when mounting anything
- Skipping calibration because the default settings "sound fine"
Conclusion
Setting up wireless surround sound without drilling walls comes down to three things: the right gear, smart placement, and patient calibration. Renters can absolutely build a cinematic setup that rivals a permanent installation.
Frequently Asked Questions
How can I mount speakers on the wall without drilling holes?
Use adhesive mounting strips rated for the speaker's weight, or place speakers on adjustable stands. For heavier speakers, try floor-standing models or shelves. Always test adhesive on a hidden spot first to avoid paint damage, especially in rentals.
Do wireless surround sound systems require a power outlet for every speaker?
Most wireless speakers still need power, so each unit must be near an outlet. However, some battery-powered models exist. Plan your layout around existing outlets or use extension cords with cable covers to keep things tidy.
What are the best wireless surround sound systems for apartments?
Compact 5.1 systems with wireless rear speakers and Bluetooth connectivity work well. Look for models with virtual surround processing to reduce speaker count. The JoeMo 800W system offers a subwoofer without permanent installation.
How do I hide speaker wires if I cannot drill into walls?
Use paintable cable raceways along baseboards, flat speaker wire under rugs, or adhesive cable clips. These methods conceal wires without wall penetration and are rental-friendly.