Easy Home Theater Setup Guide for 2026
Table of Contents
- Essential Home Theater Equipment List
- Room Selection, Seating, and Sightlines
- Best Home Theater Speaker Placement
- How to Calibrate a Home Theater Projector
- Cables, Sources, and Smart Home Integration
- Acoustic Treatment and Soundproofing for Everyday Rooms
- Maintenance, Troubleshooting, and Eco-Friendly Habits
- Frequently Asked Questions
Last Updated: September 15, 2026
Essential Home Theater Equipment List
An easy home theater setup guide starts with five core components: a display, an audio system, a media player, seating, and cables. This guide from JoeMo Promo walks through each stage, from room selection to calibration.

The equipment list is shorter than most people expect:
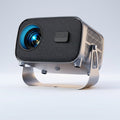
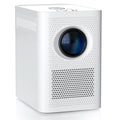
- Display: A projector or television. Projectors suit rooms where you want a very large image without a permanent screen.
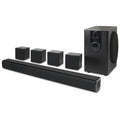
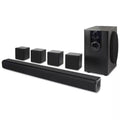
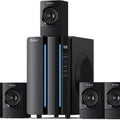
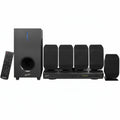
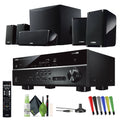
- Audio: A soundbar at minimum, or a 5.1 surround sound system with an AV receiver for real multichannel audio.
- Source: A streaming stick, game console, or Blu-ray player.
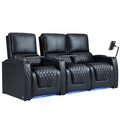
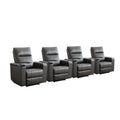
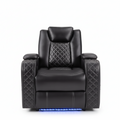
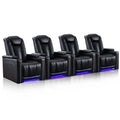
- Seating: Anything comfortable with a clear line of sight. Power recliners with cup holders are the standard for dedicated rooms.
- Cabling: HDMI cables rated for your display's resolution and refresh rate.
Room Selection, Seating, and Sightlines
Room selection is an important consideration. A rectangular room with the screen on a short wall can offer a good seating distance and sound. Square rooms can sometimes produce uneven bass.
Measure before you commit, then check where windows fall. Ambient light is the enemy of projection, so north-facing or heavily curtained windows work best.
For seating distance, start at roughly 1.5 times the screen's diagonal measurement for a comfortable cinematic field of view. Sitting closer feels more immersive but can expose pixel structure on lower-resolution displays.
Sightlines matter as much as distance. A second row needs a riser or higher seat back; without a riser, angle the screen slightly downward or stagger the seating.
Best Home Theater Speaker Placement
For speaker placement, aiming for roughly the same distance from the listener for every speaker is a good starting point. Calibration can help with level and timing.
For a 5.1 system, the layout is:
- Center channel: Directly below or above the screen, aimed at ear height. This speaker carries almost all dialogue, so it should be the closest to the screen and never inside a cabinet.
- Left and right front: 22 to 30 degrees off-center from the listening position, toed in slightly toward the main seat.
- Surround speakers: 90 to 110 degrees from the front, slightly behind and to the sides of the listener, just above ear height.
- Subwoofer: A corner or front-wall position to start, then adjusted by ear or measurement.
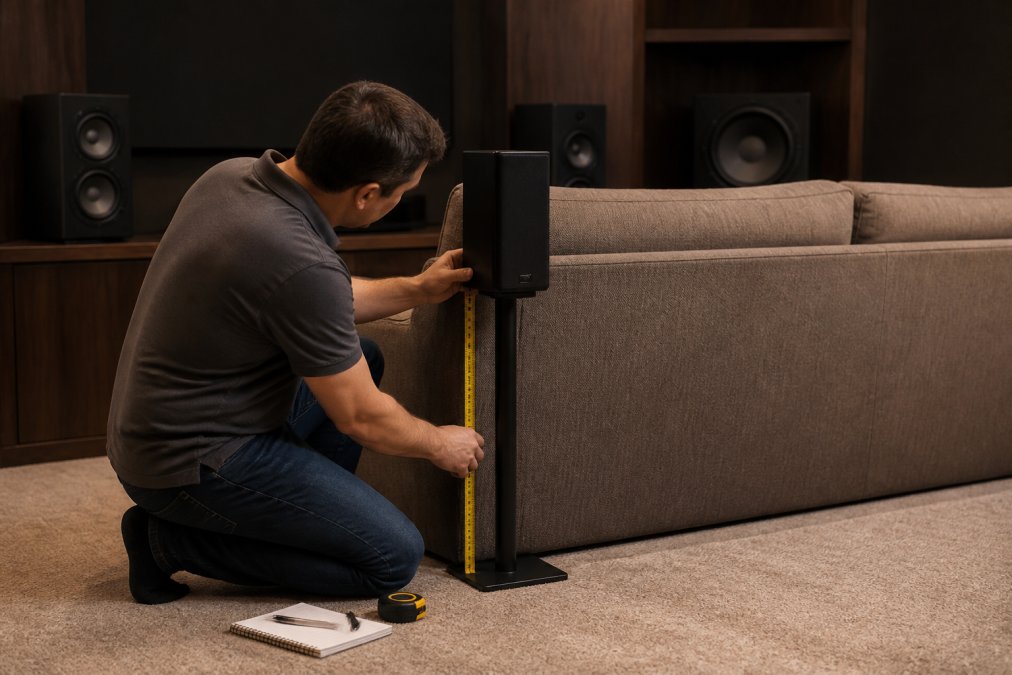
If surrounds are mounted directly beside the sofa at ear height, consider moving them back and up. If your room forces surrounds in front of the seats, aiming them at the side walls can help sound reflect behind you.
Adding Height Channels Without a Dedicated Room
In a 5.1.2 or 5.1.4 Dolby Atmos layout, height speakers make the room feel bigger. The two practical living-room options are up-firing modules on your front left and right speakers, or in-ceiling speakers if you can cut drywall.
Up-firing modules can work with a flat, reflective ceiling. In-ceiling speakers require attic access and wiring.
The Subwoofer Crawl and Bass Management
Subwoofer placement is a significant variable in how your system sounds. One method for finding optimal placement is the subwoofer crawl: place the sub in your main seat, play a bass-heavy track on repeat, then listen along the floor near the walls until the bass sounds most even. Placing the sub in that spot can be effective.
If crawling is not practical, start with the sub in a front corner for maximum output, then move it a third of the way along the front wall if the bass sounds boomy.
Crossover frequency is where your receiver hands low frequencies from the main speakers to the subwoofer. Start at 80 Hz, the standard for most bookshelf and tower speakers (audioholics.com). Small speakers: raise it to 100 or 120 Hz. Large towers with real low-frequency response: 60 Hz can work.
Telling the receiver your speakers are "small" can route bass to the subwoofer.
One-Touch Speaker Presets for Everyday Use
Most people do not want to re-run calibration every time they switch between a movie, a game, and a podcast. Save two or three receiver presets instead: "Movie" with the subwoofer hot and surrounds active, "Late Night" with dynamic range compression on and the sub trimmed, and "Music" running the front speakers full-range. If your receiver or smart hub supports scenes, tie those presets to a single voice command.
How to Calibrate a Home Theater Projector
To calibrate a home theater projector, starting with physical placement, then moving to focus, keystone, and picture settings in that order is a good approach.

- Position the projector so the lens is perpendicular to the screen. Angling it forces keystone correction, which softens the image.
- Set the throw distance using the projector's zoom range, not digital zoom.
- Focus using a test pattern or a paused title card with fine text.
- Correct keystone only if physical alignment is impossible.
- Adjust brightness and contrast in a dark room, then check again with your typical lighting.
- Set the aspect ratio to match your source content.
Modern projectors with automatic focus and keystone correction handle steps three and four in seconds.
Display resolution and refresh rate are worth checking against your source. A 1080p projector with 4K support handles most streaming content well, while a 120 Hz refresh rate helps if you watch sports or play games.
Picture Modes, Gamma, and the Daytime Problem
Out of the box, many projectors ship in a bright picture mode. Switching to Cinema or Filmmaker mode can adjust color temperature, which can improve skin tones.
Gamma controls how the projector maps signal brightness to screen brightness: higher gamma can deepen shadows and help in rooms with ambient light, while lower gamma can lift shadow detail in a fully dark room. Consider turning auto-gamma or dynamic contrast off for critical viewing and on for daytime sports.
For a non-dedicated room, ambient light can impact projection. Practical fixes include a gray or ALR (ambient light rejecting) screen, blackout curtains on windows facing the screen, and a bias light behind the screen. Calibrating for both night and daytime conditions and saving presets can be helpful.
Receiver Calibration and Audio Sync
Picture calibration often gets attention, and audio calibration is also important.
Consider calibrating with the projector's dynamic contrast, motion smoothing, or noise reduction features turned off. These features can change the image frame by frame, so settings might only be correct for a specific scene.
One-Touch Calibration Presets
Cables, Sources, and Smart Home Integration
For sources, most people need two or three:
Acoustic Treatment and Soundproofing for Everyday Rooms
Foam panels sold as "soundproofing" primarily reduce reflections inside a room. They are not typically effective for stopping sound from leaving the room.
Maintenance, Troubleshooting, and Eco-Friendly Habits
Common problems and their fixes:
| Problem | Likely Cause | Fix |
|---|---|---|
| No picture | Wrong input source | Cycle inputs on the receiver |
| Picture but no sound | HDMI eARC not enabled | Turn on eARC in TV settings |
| Audio out of sync | Signal processing delay | Adjust audio delay in receiver menu |
| Dim or washed-out image | Ambient light or lamp aging | Close curtains, check lamp hours |
| Bass sounds boomy | Subwoofer placement | Move sub away from corner |
Frequently Asked Questions
What is the best setup for a beginner home theater?
Start with a 5.1 system and a projector that handles auto-focus and keystone correction, like the Nova 300. Place the center channel under or above the screen, put the subwoofer in a front corner, and let the receiver's auto-calibration set the rest.
What is the golden rule for home theater speaker placement?
For speaker placement, consider having your front left, center, and right speakers sit at ear height, with the left and right forming an equilateral triangle with your main seat. Surrounds can go slightly behind and to the sides. Keeping the center channel aimed at the listener can be beneficial for dialogue.
Should I choose a 5.1 or 7.1 surround sound system?
A 5.1 system can be a good choice for many rooms. A 7.1 setup adds two rear speakers. If your sofa sits against the wall, 5.1 can be a practical choice.
How do I calibrate my projector for the best image quality?
Start with auto-focus and keystone correction, then set the projector at the correct throw distance for your screen size. Switch to a calibration pattern, adjust brightness and contrast, and set the color mode to Cinema or Movie.
What are the most common home theater setup mistakes to avoid?
Consider avoiding placing the center channel inside a cabinet, putting the subwoofer in a random spot, skipping speaker calibration, and running long cables before deciding where seats go. Also, consider the room's capacity for rear speakers when choosing a system. Measuring the room first can be helpful.
Do I need a dedicated room for a high-quality home theater?
No. A living room with light control and a decent 5.1 system delivers a strong experience. Add heavy curtains over windows to cut ambient light, use a rug and soft furniture to reduce reflections, and aim the projector at a blank wall. Dedicated rooms help, but they are not required for a sharp picture and clear dialogue.